
Free Shipping
On Orders $49+
On Orders $49+
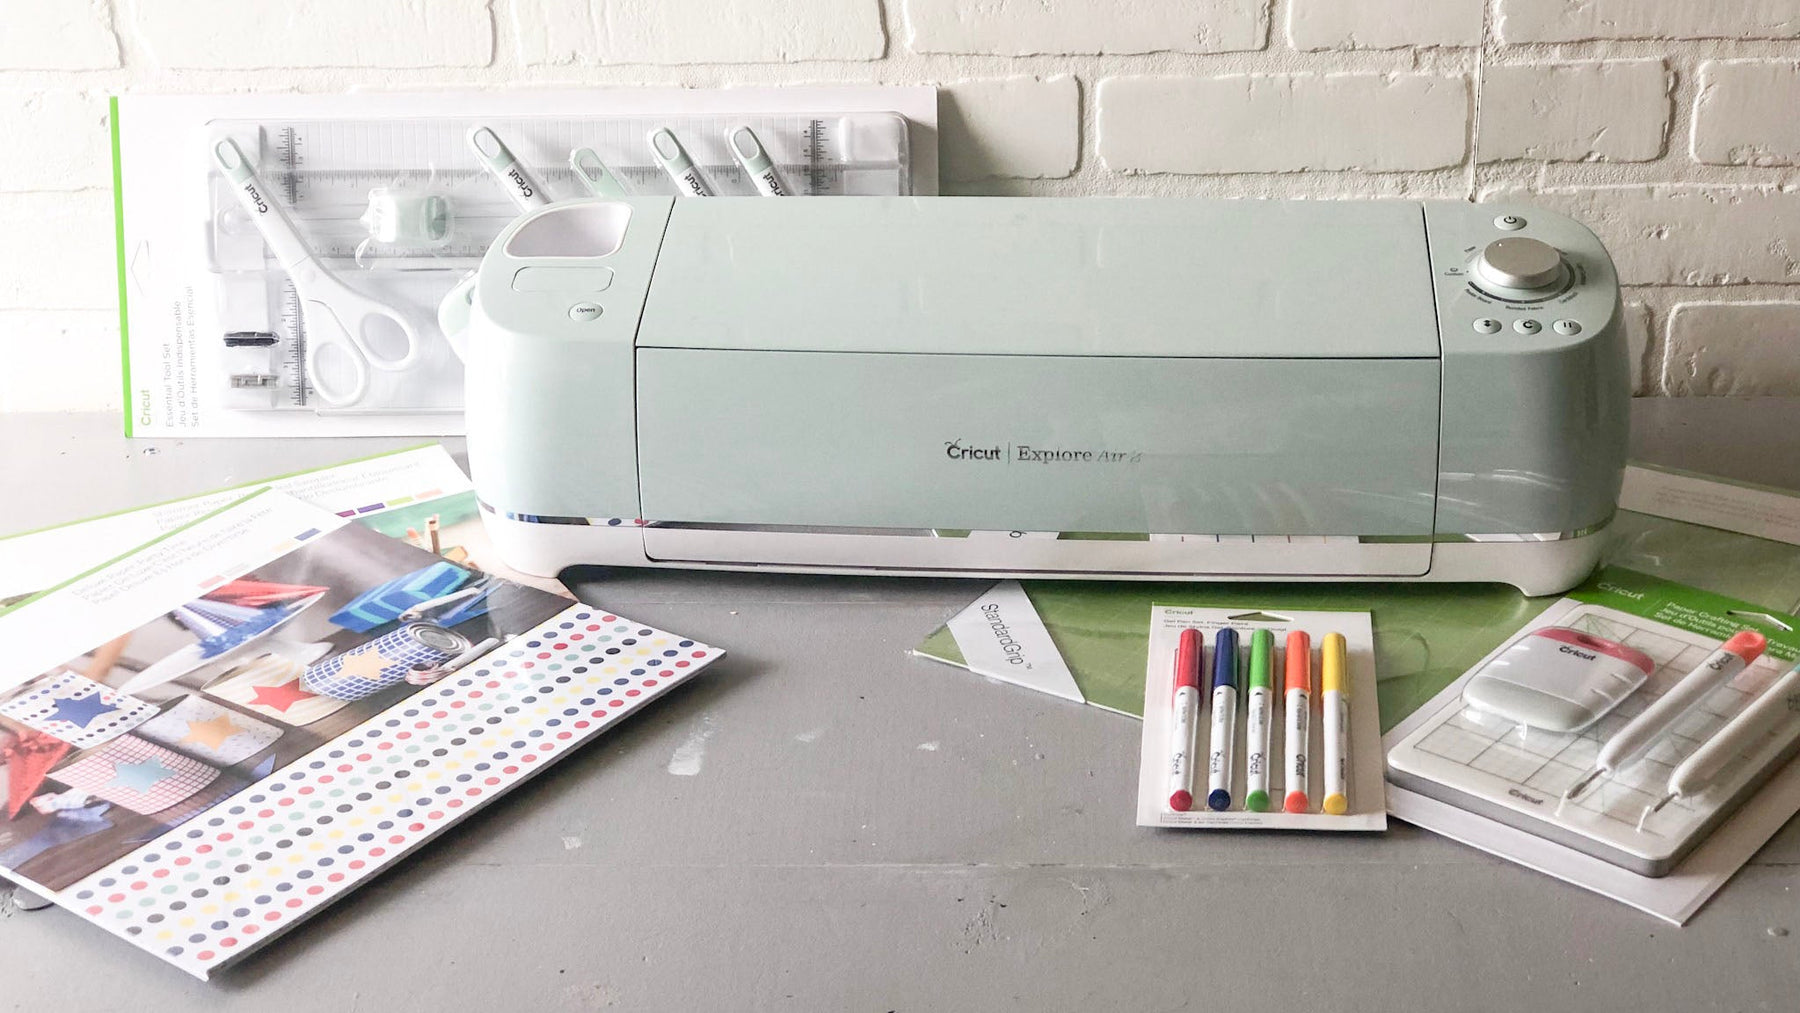

Congratulations on your brand new Cricut Explore Air 2 machine! If you're eager to get started, you've come to the right place. Here's a comprehensive guide on how to unbox your machine and get it set up. Whether it's your first venture into the world of crafting or you're an experienced user, these steps will ensure a smooth start.
Note: Keep in mind that the contents of your package may vary slightly. If you find that your machine doesn't match the exact contents described in this post, it doesn't necessarily mean your machine is used or returned. If you have any questions or concerns, please don't hesitate to contact us for clarification.
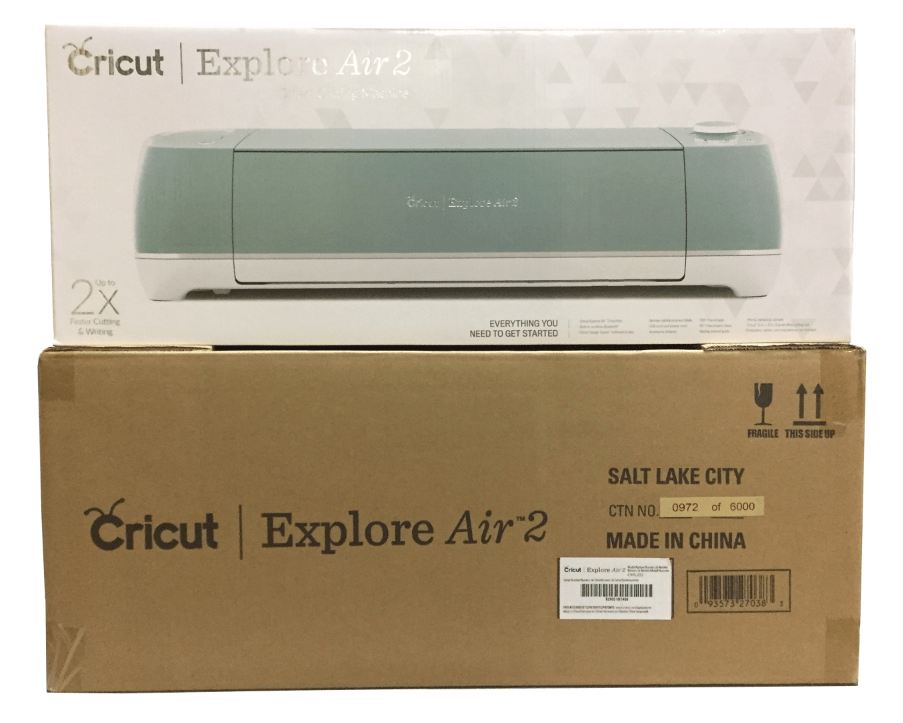
Start by separating the two boxes. Our warehouse often tucks bundle components between them, so it's a good idea to hold onto both boxes. This can be particularly useful if you ever need to return the machine for repairs or if you plan to move or store it. If storage space is limited, you can flatten the boxes, but keeping them and the packing materials guarantees your machine's safety during transit.
Within the white box, you'll find the machine secured in place with packaging materials. The machine may be inside a white Styrofoam sheet, and the cutting mat should be placed on top of it.
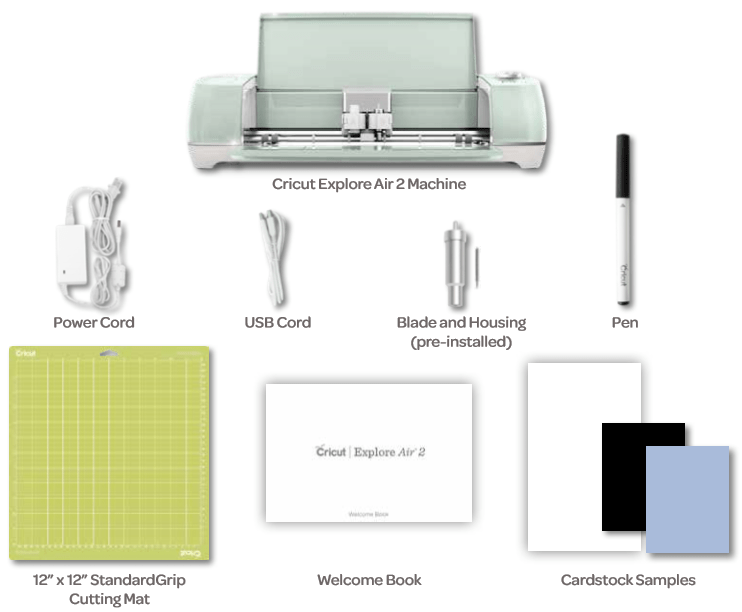
After you've removed the machine and mat from the box, locate the power cord, USB cord, sketch pen, Getting Started Guide, materials for your first card (cardstock pieces), warranty information, "Learn more," and Iron-on instructions, as well as a silica gel pack.
Unwrap the machine carefully, ensuring you remove all packing materials, including the clear plastic wrap at each end and the gray tab holding the machine closed.
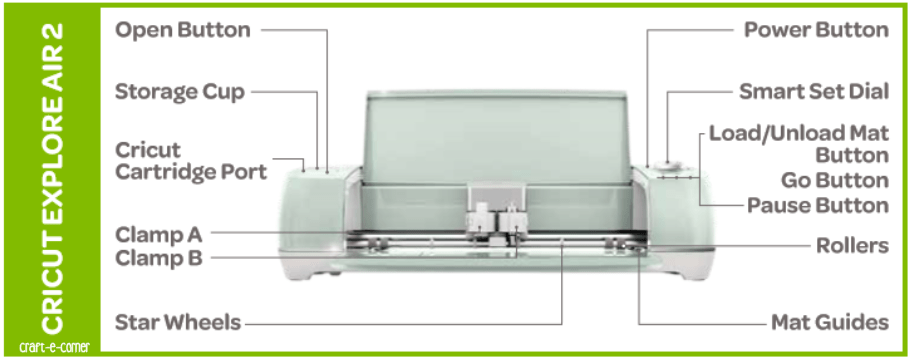
Press the open button on the front left of the machine to reveal the interior. Inside, eliminate the final packing materials. At this point, you'll notice that the accessory holder is pre-installed in Clamp A (for accessories), and the blade and blade housing are installed in Clamp B (for blades).
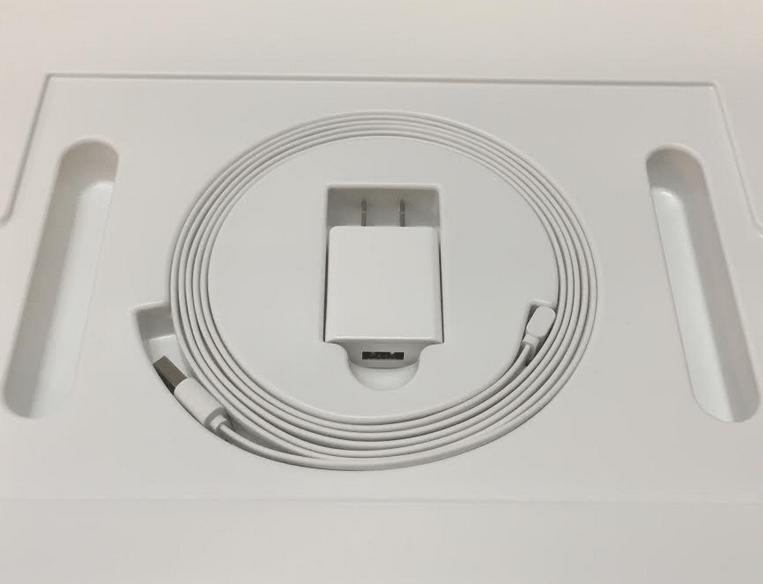
Now you're ready to power up your machine and connect it to your computer. Find the USB cord and power cords. The power cord consists of two pieces that should already be connected. If not, simply plug one end into the other.
Insert the round end of the power cord into the back of the machine on the right-hand side. The other end of the power cord is equipped with a standard 2-prong US power supply cord. Plug it into an outlet or a power strip.
The USB cord features a square end; insert it into the back of your machine on the left-hand side. Connect the other end of the USB port to your computer.
Here's a diagram highlighting all the components of the Air 2 machine for your reference.
Note: While the Explore Air 2 is Bluetooth compatible, the initial setup requires a USB connection. You can explore Bluetooth connectivity once your machine is up and running. Read all about how to pair your Explore Air 2 with Bluetooth here.
Registering the Machine: Now that your unboxing is complete and you're connected, the next step is to set up a Design Space Account. Register your machine on the Cricut website for product support, warranty coverage, and updates. And happy crafting!
How to Pair Your Cricut Maker or Explore Air 2 Machine via Bluetooth

Comments
Leave a comment