
Free Shipping
On Orders $49+
On Orders $49+

My daughter is obsessed with unicorns so I knew when I started thinking about her Valentines this year it was going to be something with unicorns. I found these awesome twisty suckers while walking around Walmart and thought they would make great unicorn horns. I used Cricut Print then Cut to makes these Valentines and I think they turned out super cute and my daughter loves them.
Materials:
Cricut
Light or Standard grip cutting mat
White Cardstock
Printer
Suckers

I found an image in Google that I liked for my unicorn and saved it to my computer.

In Design Space I clicked on Upload.

Then I clicked on Upload Image and then browse.
I found the image and then clicked open. On the next screen I click on Complex and Continue.

Here is where you will eliminate the background by clicking in an of the space that you want to get rid of. I also erased the horn as well as I knew I was going to use the sucker as the horn. When you are happy with it click on apply and continue.

I then sized it to the size that I was looking for.

Next, I selected my unicorn image and then used the offset feature to create a backdrop for the unicorn. You can play with the bar to make it bigger or smaller. And then click apply.

I then inserted a circle shape from the menu on the left and sized it to .15. I placed it where I want the horn to come out of the backing and sliced

I added text and changed it to print then cut. Placed it where I wanted on the backing. Then I click Flatten. This will flatten the image and the words to the back shape.

When you hit Make it it will first print the image. I leave Bleed on. This will give the Print then Cut process a little space just in case its off a bit. Then Send to Printer.

It will print with this black box around the images. This is the registration mark that the Cricut will read to know where to cut.

I placed this on my Standard grip mat. Mine is a little less sticky. A light grip cutting mat would work as well. It needs to be placed in the upper top left corner. Then I loaded it into my machine, let it measure the mat length, and then clicked the go button. It will then begin to read the registration box.

After it is done reading the box it will cut out the two images.
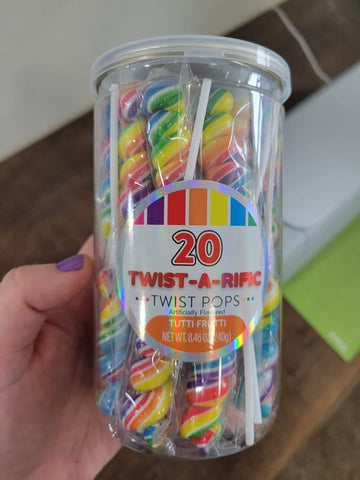
I picked these suckers up at Walmart.

I took one sucker and put it through the hole on the top of the unicorn for the horn.

I also got this washi tape at Walmart with adorable unicorns on it.

I used the washi tape to tape an X on the back of the cardstock image to secure the sucker stick.

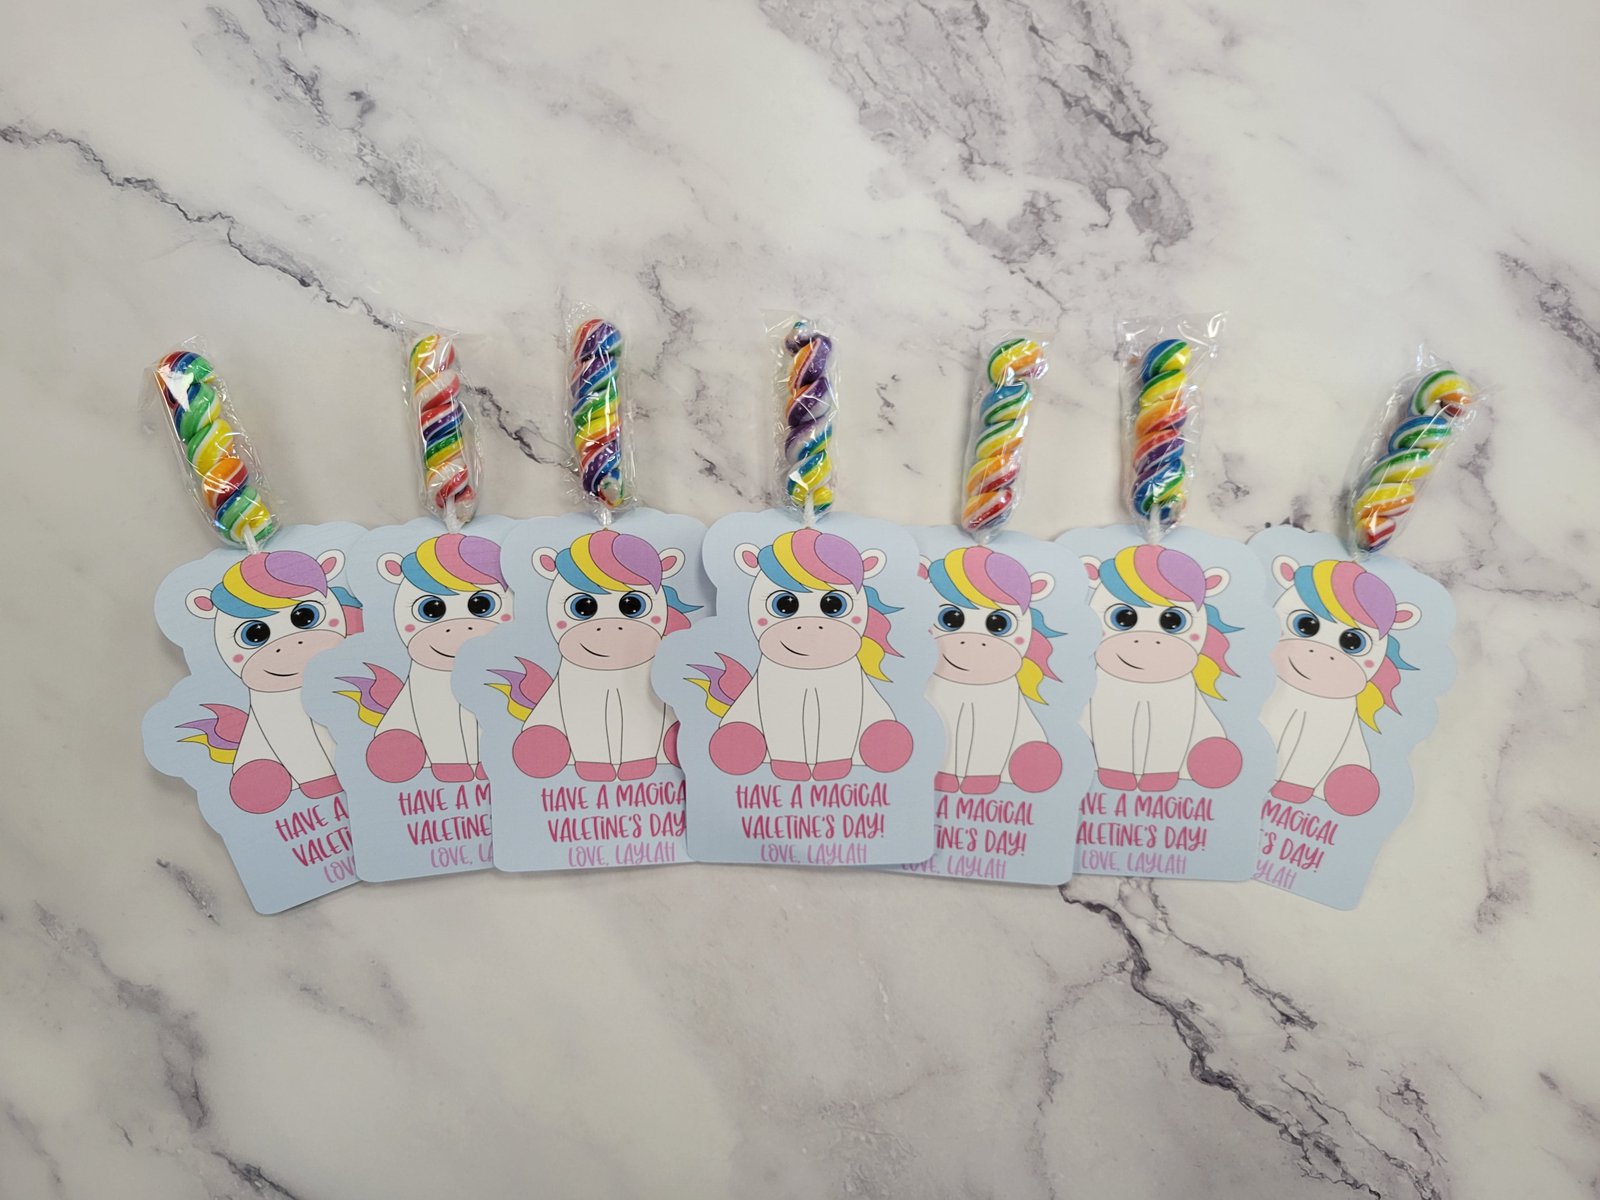
Here is the front all done.

They are all ready for my daughter to bring to class and share with her friends.
*I create because I have a need to share the most beautiful part of my soul.
~Beth
DIY PRESCHOOL CLASSROOM VALENTINES WITH CRICUT MAKER

Leave a comment