
Free Shipping
On Orders $49+
On Orders $49+

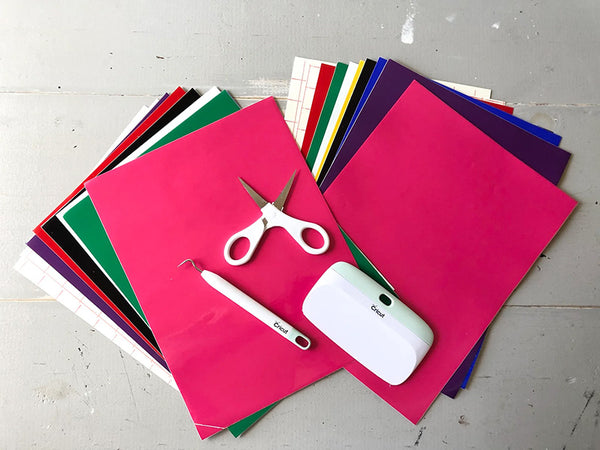
Vinyl is a magical material that can breathe new life into everyday items. It's a versatile medium, but if you're new to it, the world of vinyl crafting can seem a bit intimidating. Worry not, I'm here to guide you through a simple, back-to-basics vinyl project. In this step-by-step tutorial, accompanied by plenty of photos, you'll learn all the essentials for working with adhesive-backed vinyl.
But first, let's clarify something important. There are two main types of vinyl in the crafting world. The one we're discussing today is adhesive-backed vinyl, suitable for almost any surface except fabric. The second type, iron-on heat transfer vinyl or HTV, is designed for fabrics and requires a different approach that we won't delve into in this guide.
You can cut adhesive-backed vinyl using all of Cricut's cutting machines. Select the preset settings for vinyl or choose the appropriate vinyl product from the materials in Cricut Design Space. The goal is to cut through the vinyl without slicing through the backing sheet (this is called a Kiss Cut). Always cut with the vinyl side facing up
Weeding is the process of removing the excess vinyl that's not part of your design. A weeder tool comes in handy for this task, making it much easier to peel away the unwanted vinyl.
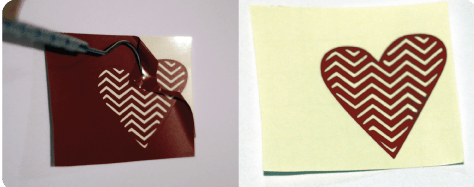
To transfer your design from the backing sheet to your project surface, use transfer paper or tape. Transfer tape is a sticky vinyl that comes on a roll or in sheets that you can use multiple times.
Cut a piece of transfer paper slightly larger than your design and smooth it over your design. Next, burnish the transfer paper onto the vinyl. You can use a scraper, bone folder, credit card, or the like to burnish your vinyl. This will help the vinyl stick to the transfer paper and help it come off the vinyl backing sheet.
To remove the vinyl backing sheet, turn your design over and work the vinyl backing sheet off by folding the backing sheet over on itself. If the vinyl refuses to stick to the transfer paper, burnish from behind and press the vinyl down as you go. You can also use a weeder tool to help pick the vinyl off the backing sheet and help it stick to the transfer paper.

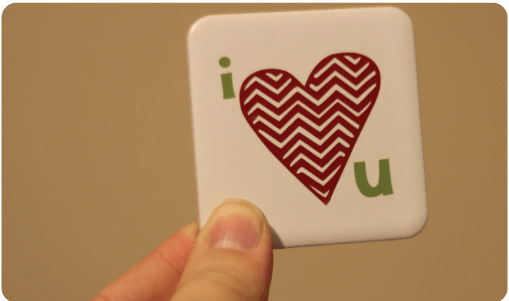
Once your vinyl design is securely attached to the transfer paper, align it with your project's surface and press it down. The design should stick to the surface effortlessly.

Burnish your vinyl design onto the surface and then gently peel away the transfer paper. Fold the transfer paper back onto itself as you remove it. Here's a tip: you can reuse transfer paper multiple times. After you're done transferring your design, place it back on its backing sheet for future projects.

Now, we must exercise a little patience. Let your vinyl design cure for at least 72 hours before exposing it to water or weather. This waiting period allows the adhesive to fully adhere to the surface, ensuring your design stays put.
While waiting for your vinyl to cure for 72 hours is essential, you can also consider heat-setting your design. A quick pass with an embossing gun can help the adhesive bond more securely and eliminate any potential air bubbles. However, be cautious because applying too much heat can damage the vinyl, so keep a watchful eye.
To navigate the vinyl world with confidence, it's helpful to understand some key terms:
Now that you've mastered the very basics of working with adhesive-backed vinyl, you're ready to embark on a world of creative possibilities. Vinyl can transform everything from your home decor to your personal accessories. So, what will you transform with vinyl?
Remember that Craft-e-Corner offers Cricut vinyl in a myriad of shades, along with Cricut transfer tape for your vinyl projects.
How to Apply Vinyl on Curved Surfaces: The Hinge Method
All About Cricut Transfer Tape
How to Cut Multiple Colors of Vinyl at One Time with a Cricut

Leave a comment