
Free Shipping
On Orders $49+
On Orders $49+


Valentine's Day is just around the corner, and what better way to celebrate than with a DIY banner made using your Cricut machine? In this blog post, we'll show you how to create a beautiful accordion-folded banner using pastel cardstock and a scoring stylus. You can customize the banner with messages from your favorite conversation heart candies or personalize the greetings for your very own "sweet hearts." With just a few basic crafting supplies and some help from your Cricut machine, you'll have a beautiful Valentine's Day decoration that will add a touch of sweetness to any room. Follow along with our step-by-step instructions and create your own festive banner in no time!
Supplies:
Directions:
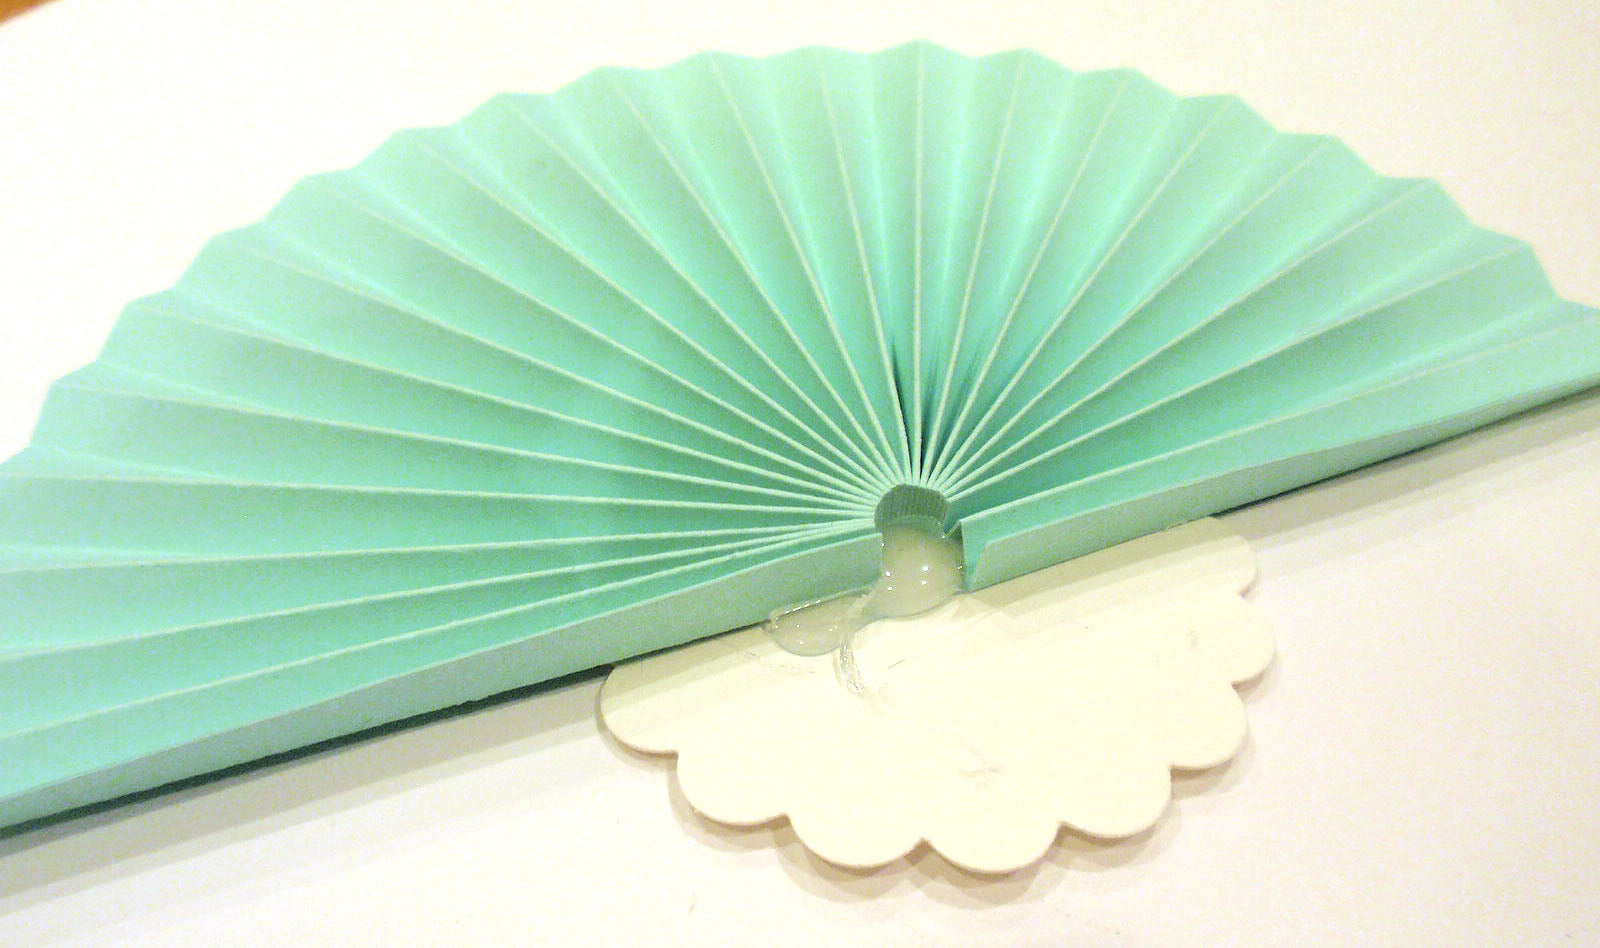
Create and make the paper pieces for this project in Cricut Design Space. You will need two 3×11 inch rectangles and one 4-inch heart to make one 6-inch rosette.
Add a rectangle shape to the canvas. Set the width of the rectangle to one half the diameter of the finished rosette. Set the length of the rectangle to about 11 inches (given the limits of a 12×12-inch cutting mat.) Add score lines to the rectangle approximately every half an inch as shown in the image.
Create a heart shape and add a message using a bold, upper case font. Set the rectangles and heart shapes to cut. Set the text to draw using a marker of your choice. Make the project.

Accordion fold each rectangle along the score lines.

Cut or punch a 1.5 to 2-inch circle from heavy paper or cardboard scraps. This circle will be used as the base for each rosette. Use hot glue to adhere one accordion folded rectangle in a fan shape to one side of the base. Adhere a second accordion folded rectangle opposite the first.
Tack the end of one fan to the other with a bit of additional adhesive to make a complete circle.

Paint the edge of each rosette with gold paint.

Color the text using a marker.

Glue one heart in the center of each rosette and punch 2 holes at the top.

Thread the rosettes on a string, ribbon, or cord for hanging.

Rosettes are a versatile paper form that lend themselves to many different kinds of craft projects! Check out another way to use paper rosettes on our blog –Fabulous Fall Paper Rosette Tutorial.
Cricut Valentine's Day Project: How to Use Print then Cut

Leave a comment