
Free Shipping
On Orders $49+
On Orders $49+
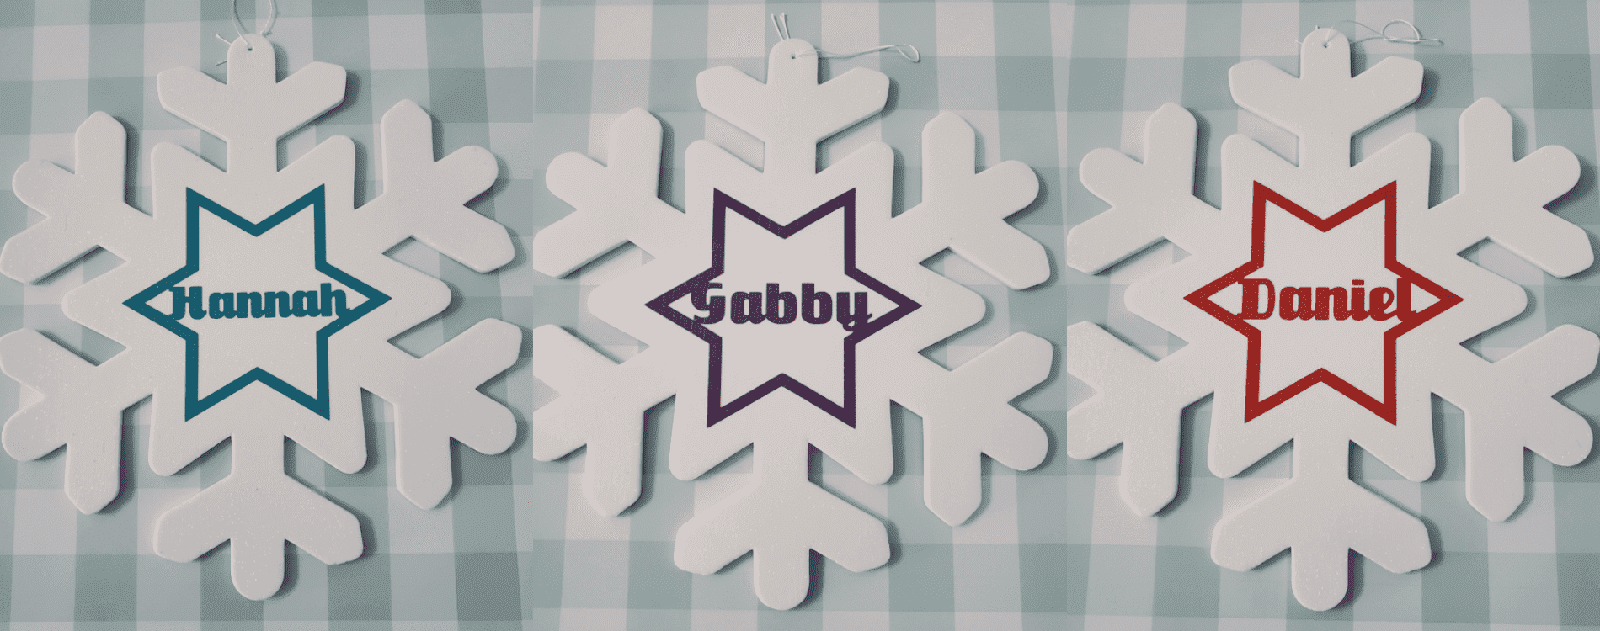

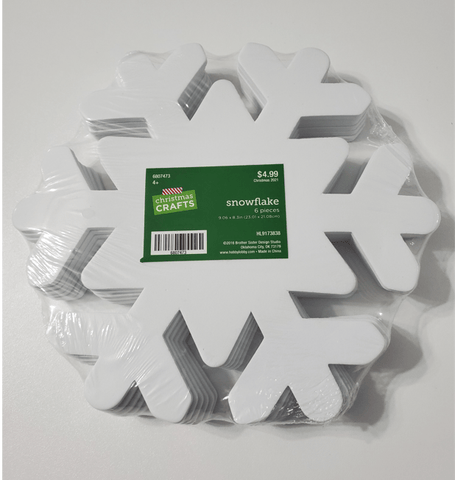
Will Cricut Permanent Vinyl stick to craft foam? That is the question I asked myself when I came up with this project. I had found some foam snowflakes at my local Hobby Lobby and picked them up, thinking I could do something with them. It didn't take long to decide to put my grandchildren's names on them with permanent vinyl and then hang them up on my patio doors for the winter.
Materials
Craft Foam snowflakes or other shapes
Permanent Vinyl in a variety of colors
Cricut Machine (Maker or Explore)
Cricut Tools
Transfer tape
Clear Glitter Paint
Paint brush
Thin string or thread for hanging
Newspaper

I used a different color of vinyl for each snowflake, including red, blue, purple, yellow, green, orange and teal. The Cricut Premium Permanent Vinyl Rainbow Colors Bundle was perfect for this project, and I already had it on hand. Since I have seven grandchildren, I only needed one more vinyl color to complete the project. This sampler has all the colors I used except for teal.

First, I had to decide what type of design to use for the names. I chose to make a star outline to match the shape of the inner part of the snowflakes, which was like the star of David. Once I got the star onto my canvas, I changed it to white like my foam snowflakes.

To make an outline shape, I duplicated the star by right-clicking on it and selecting 'Duplicate.'

Then I made the duplicate star light purple to show the contrast.

I placed the purple star inside the white one and reduced it to create the outline star shape in the thickness I wanted.

Once I had the thickness I wanted for the outline, I sliced the purple star from the tan star. I clicked on the outer star, held down the Shift key, clicked on the inner star, and then clicked Slice on the bottom right of the layers panel in Design Space.
After slicing, I separated all the layers and deleted all the ones I didn't need.

I changed the color of my star outline to black.

I then rotated the star for hanging purposes because there would be more room between two points to fit the names in, and I wanted them to appear straight across. I lined up the points on either side with the grid lines to make sure the star was straight. It also worked well because of the ends of the foam snowflakes that are not shown on my canvas.
It did occur to me later that I could have placed the names on the stars on a slant, and that would have given them a nice look, too.

I duplicated my star outline to get 8 of them. I needed 7 for my grandchildren, but I made one extra just in case.
Tip: I always make an extra of any design I create on my canvas and make it a different color to keep it separate. I learned my lesson after having to recreate designs on several occasions.

Now I was ready to add the names to my stars. I typed the text for the first name and selected the Salut font.

I wanted a script-type font, so all or most of the letters would connect. I would also connect the first and last letter to the star. I sized the name to accomplish this.

Once I was happy with the placement, I welded the star and the name together by placing a box around the entire design to group it on the canvas and clicked on 'Weld' on the bottom right of the layers panel.

I repeated this process for each name and star and made each one a different color to prepare for cutting on different mats. Here they are all ready to go. The shorter names have larger letters to reach to the edges of the stars.

Once I had all the names and stars created, I cut them out with my Cricut Maker and weeded them. Then I used transfer tape to apply them to the snowflakes, being sure to burnish them well without pressing too hard and damaging the foam.

The vinyl stuck pretty well to the foam, but I did have a bit of trouble getting the points of the star to stay down. At times, I used my fingernail to hold the points down as I pulled off the transfer tape.
![]()
Here is one with the vinyl applied. I was quite happy with how it looked.

Although the vinyl did seem to adhere pretty well to the foam, I was still a bit concerned about it staying on permanently since the foam is more of a porous material.
I decided to apply some type of paint or poly coating over the vinyl. I remembered I had a bottle of clear glitter paint that I could paint over them. Not only would it make the vinyl more secure on the foam, it would also make the snowflakes sparkly, which would be perfect.
![]()
When I first bought this paint, I thought it was white paint with glitter, until I used it on a different project and found out it actually dried clear. I guess I need to read labels more carefully. However, I can see now that this will not go to waste, especially considering my extreme fondness for all things sparkly.
I laid out the snowflakes on newspaper to protect my table underneath.

I applied the paint right over the top of the vinyl since my purpose was to help the vinyl stick to the foam long term. It made the vinyl slightly more dull, but it was only noticeable when viewed up close. These would hang on a window, and I was not expecting anyone to study them that closely.

Once the snowflakes were dry, I poked a hole in the top of each one to thread the string through. I had an awl that I pushed through each one, but you could use a nail or anything that would make a hole the size you need. The foam is fairly soft and easy to poke through. You could even thread a needle and just push it through.
I had ordered some small suction cup hooks to hang the snowflakes from and stuck them on my patio doors. I am really happy with how they turned out, and I love that my grandchildren can see their names hanging up every time they come over. Luckily, I have several snowflakes left over, so if I am blessed with more grandchildren, I can add to my collection.

Have any of you done projects with craft foam where you applied vinyl to it, or are you inspired to try it now? It was not hard to do. Sometimes it's nice to create a simple project that doesn't take too much time. An easier project means more time for other projects!
She works willingly with her hands. Proverbs 31:13
Leslie
DIY Grandma Sign: A Perfect Gift for Mother's Day
Comments
Leave a comment