Cricut Bunny Hair Bow Tutorial

Cricut Bunny Hair Bow Tutorial

Head on over to Craft-e-Corner Cricut Community Facebook Group for more inspiration and education!

Hi! My name is Linh, and I am the crafter behind Craftscaping! I am a full-time working mom of 3 kids and just love to craft. I’m still learning as I go, and I enjoy sharing my projects and experiences on my Instagram page. Look for more inspiration, project ideas, and how-to’s on my Instagram account: https://www.instagram.com/craftscaping

Making hair bows is so easy, you’ll never buy another store-bought one again! Here is a quick project on how to create a hair bow. The process is very simple, and anyone can do it!

Here are the materials needed: 

  • Hair clip
  • Desired material – I like to use faux leather, which is what I used for this project
  • Hot glue
  • Hair bow template (svg file) – there are many available online, free and/or for a low price
  • Cricut machine -I used a Cricut Explore Air 2 for this project but any of the other Cricut models will work. You may also use scissors but it may not be as well defined if cutting by hand
  • Standard Grip Cutting Mat 
  • Painter’s or Masking Tape for faux leather material

Directions:

  1. If you will be using a Cricut, first upload the design (svg file) into Design Space.
  2. Open the uploaded file that was loaded into Design Space
  3. Re-size to desired size. My hair clip that I used was about 2 inches. So for the base of the bow (the outer bunny ears), I re-sized it to be about 3 inches, just slightly bigger than my hair clip to make sure it’s covered up when I assemble it. It is best to make sure all the parts are selected together and re-sized so everything will be in proportion.

4. Once you have the size you want, you are ready to send it to cut.

    • It is recommended that you cut each piece of the bow separately for faux leather.
    • You will want to have the faux leather material close to the size you are about to cut.
    • For example, if the bunny ears were about 3x4, you’ll want to pre-cut the faux leather out to be 4x5 and tape it, nice side down, with the painter’s or masking tape all around to keep it in place on the standard grip cutting mat. This is to help secure the faux leather in place when cutting it.
    • Use Faux Leather (thin paper) setting on the custom option of the Explore Air machine.
5. Repeat for each part of the bow. Heat up your glue gun while you are waiting for the materials to be cut.
6. Once all materials are cut, you will begin to assemble the bow. The two pieces that look like goggles are going to be folded inwards like this picture below. 


7. Using the hot glue, adhere the center with a dot and hold the folded ends in the middle for a few seconds to form the bow design

8. Repeat with the other similar shaped piece

9. Now for the ears. Glue the inner ear to the outer ear with the hot glue and layer it on top.

10. Next, glue the bigger bow onto the bunny ear by placing a dot of glue in the middle and holding it in place. 

11. Repeat the same for the smaller bow.

12. The bow is almost finished! Glue a little bit on the hair clip and place the assembled bow onto the hair clip. I like to press the clip open to ensure it doesn’t accidentally stick together from the glue.

13. The remaining rectangular piece is to be wrapped around the entire bow and onto the clip like seen below. Secure with hot glue all around. Again, I held the clip open like in the picture to ensure I do not accidentally glut the clip itself together. 

14. I like to have embellishments on my bow so I added a little half pearl adhesive and reinforced it by adding craft glue on the bow before applying it.

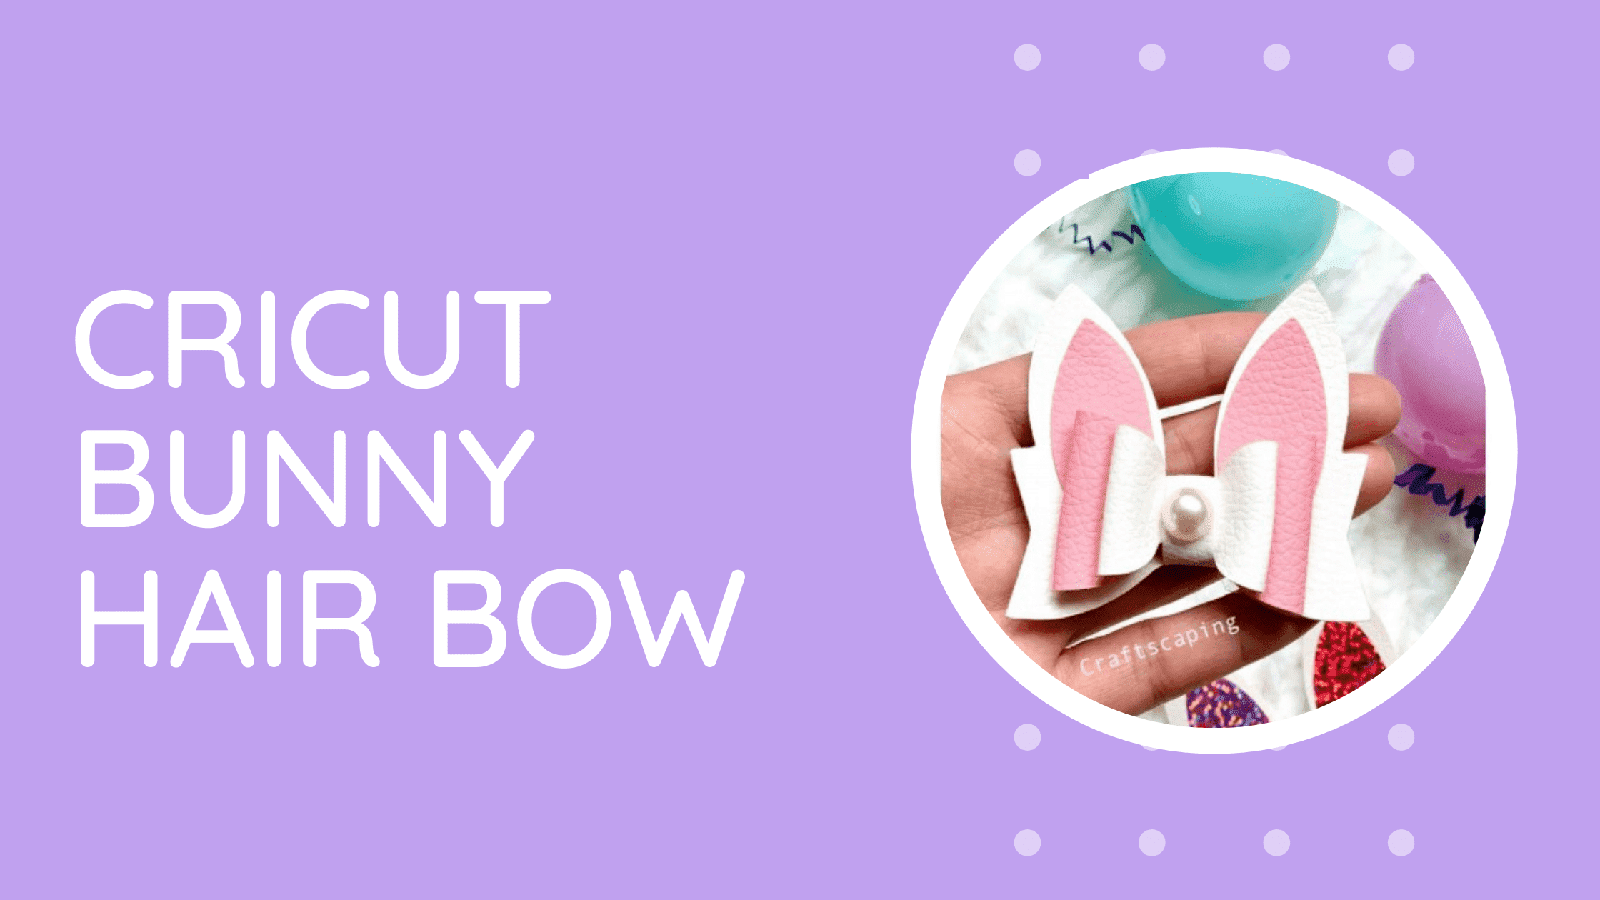
16. Voilá! You got yourself a cut bunny bow that everyone will be asking about! 

Related Posts

DIY Faux Leather Bows with a Cricut

Rolled Flowers Shadow Box for Teacher Appreciation-With Rolling Hack!

DIY Coloring Shirts with Cricut

FEATURED SALES

Back to blog

2 comments

Jennie-This was a guest blog and did not come with the template. She does mention that she found a few templates online for free or fairly cheap.

Craft-e-Corner

how do i downloand the svg file?

jennie

Leave a comment

Please note, comments need to be approved before they are published.