On Orders $49+
On Orders $49+


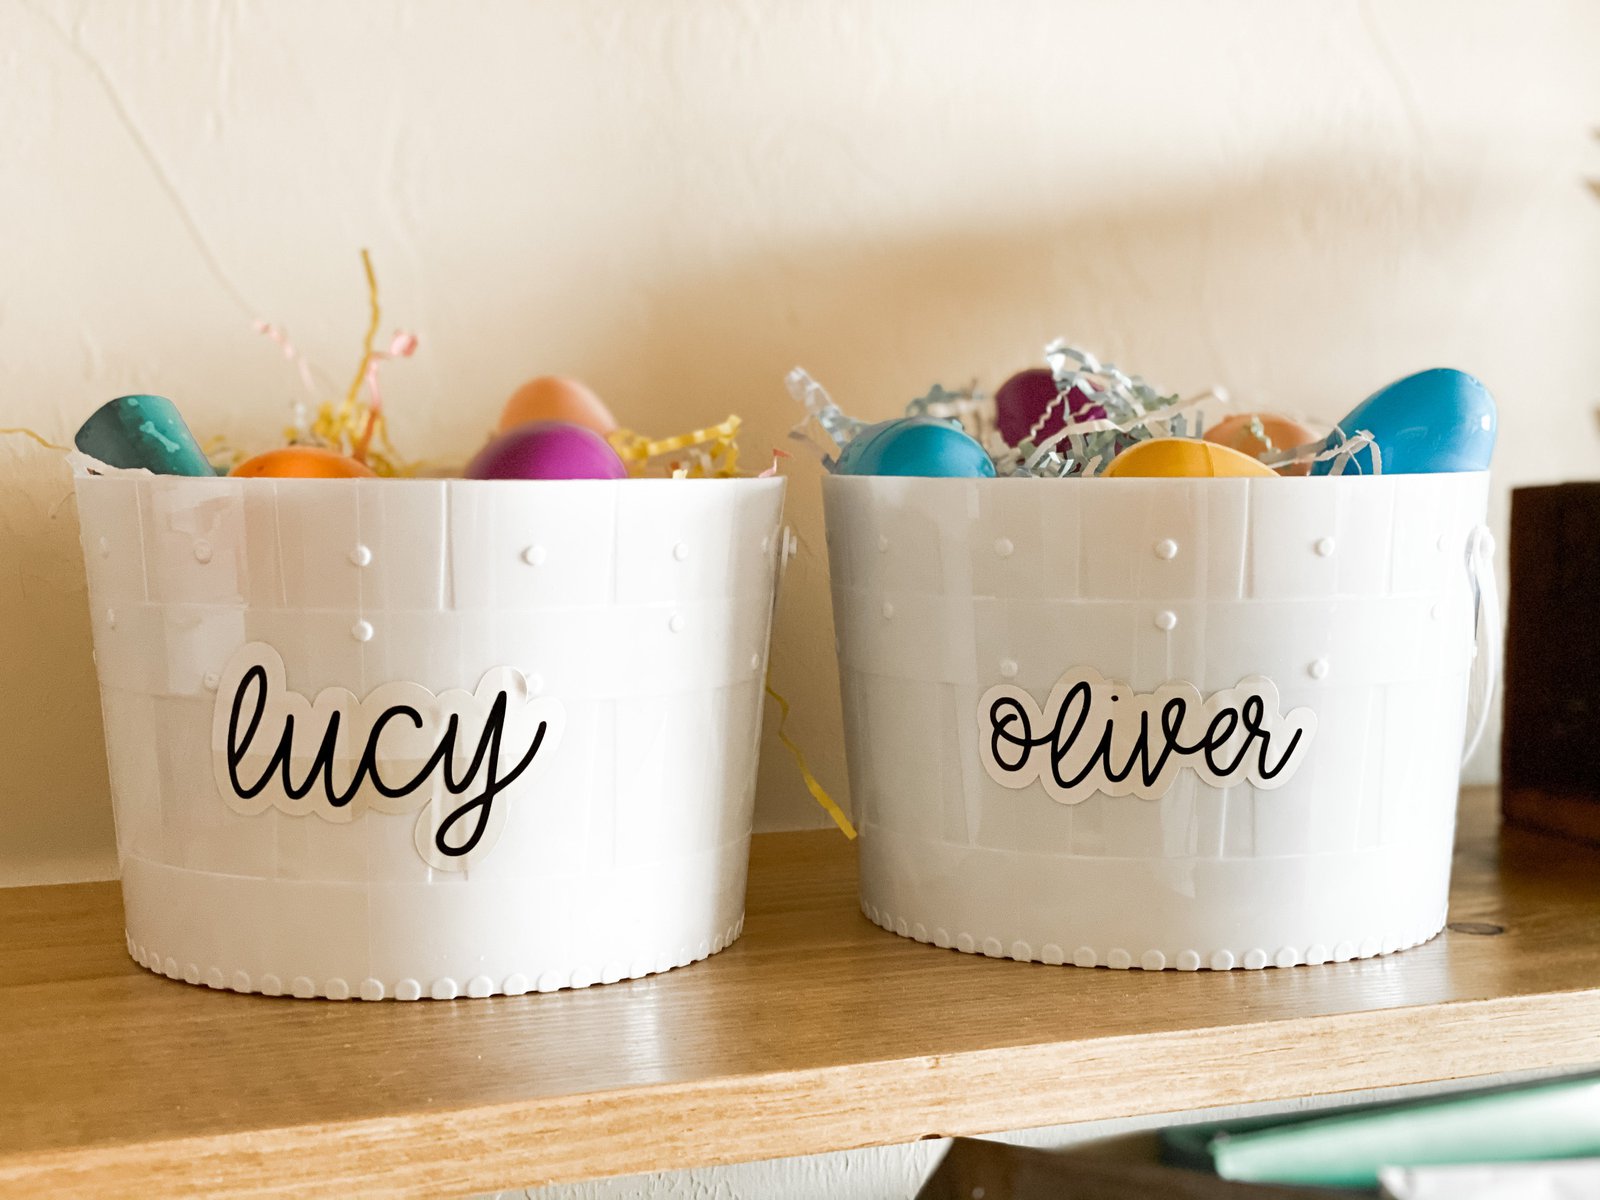
Easter is just around the corner! This is my son's first Easter and even though he will be too little to remember any of it, I'm still excited to make him an Easter basket and start new family traditions. I knew I wanted to put together an Easter basket for him and customize it with my Cricut, so I stopped at Target to see what I could find and let my Cricut do the rest! I made two baskets — one for my son, Oliver and one for my dog, Lucy.
Materials:
Why use removable vinyl?
A lot of people always wonder how to use removable vinyl and I think this is a perfect example! I plan on reusing these Easter baskets every year, so I'm using removable vinyl today so I can make new labels next year. I don't want any residue left behind on the baskets, which is why I chose removable. But of course, you can definitely use permanent if you want!
Here's a look at what I got in the Target dollar section:

Of course, customize this however you want! I thought I would share what I put in their baskets if you need a little inspiration. For Oliver's Easter basket, I put in some clothes in the next size up, a book and a few toys. Inside of the Easter eggs, I put little items like socks, pacifiers and little teethers— basically anything I could squeeze in! In Lucy's Easter basket, I put treats in her Easter eggs. And then she got toys and a new leash!
Alright, let's get to making these! I am using a Cricut Joy today but you can use any Cricut for this project.
Step One: Create your design
I created the design in Adobe Illustrator and then imported it to Cricut's Design Space as an SVG file. All I did was add text and create a little backdrop behind their names. Again, customize this however you want! Check out some of my favorite Cricut writing fonts (*the blog post was intended for writing with a Cricut but most will work with cutting as well!), maybe that will inspire you as you're designing. And if you need help learning about using text in Cricut's Design Space, this post is for you! It will walk you through everything you need to know about text.
Step Two: Cut your vinyl

I am working with two different kinds of vinyl today: Cricut's Premium Removable Vinyl and then vinyl I found in the Target dollar section. I don't know anything about the vinyl from Target, so I started by doing some test cuts to see what settings I wanted to cut it on. For me, "Premium Vinyl" with the cutting pressure on "More" seemed to work the best! It's definitely a cheaper-end vinyl but it was so cheap and cute I wanted to try it out. But it did take me several test cuts to figure out what cutting setting to put it on — so make sure you do small test cuts first if you're working with a new material!
For the Cricut vinyl, I also used the "Premium Vinyl" setting but I did not increase the pressure.
Tip: Since I am not working with Smart Vinyl, I have to place my vinyl on a cutting mat. I am using a Standard Grip Joy mat here.
Step Three: Weed the vinyl

Next, use a weeder tool to remove the excess vinyl from around your design and also inside of the designs. You'll do this for both the patterned vinyl and the black vinyl.
Step Three: Layer the vinyl using transfer tape

We are going to apply the black vinyl on top of the buffalo check vinyl. To do this, we will apply transfer tape on top of the black vinyl and then transfer it to the patterned (buffalo check) vinyl. I am using transfer tape and a scraper tool to do this.
Apply your transfer tape on top of the black vinyl and then use the scraper tool to burnish the tape onto the vinyl. I like to burnish it on the top and then flip the vinyl over and burnish on the back as well. Then remove the paper backing and align the black vinyl on top of the buffalo check vinyl. And then repeat the same steps — burnish with the scraper tool and then remove the paper backing. Here's what it will look like now:

Step Four: Apply the vinyl to baskets
 Now we are going to take our vinyl/transfer tape combination and apply it on the baskets. You can use a tape measure to line it up, but I just eyeballed it. As you can see, my basket has some texture on it. If yours is like this, just know that it will make applying the vinyl a little more challenging, but not impossible. Since the basket is plastic and smooth, it will still stick well.
Once you've got it placed where you want, use the scraper tool to help burnish/rub it onto your basket and then slowly remove the transfer tape. And then we are all done!


Projects like this are one of the biggest reasons I love my Cricut— it's just so easy to personalize and make moments like this extra special.
Happy making!
-Courteney
Leave a comment