On Orders $49+
On Orders $49+

Wood signs and projects are some of my favorite items to customize using my Cricut. These type of projects make great personalized home decor and gifts! I love making a stencil and then painting as it provides a nice professional look. In the past I've always used vinyl as a stencil, but for these projects I thought I would test out Cricut's Stencil Vinyl and Stencil Film.

One of the main differences I noticed is that the Stencil Film is much more flexible and easy to work with. It has more of a matte finish and no grid lines. Here are how the projects turned out.
Project 1:
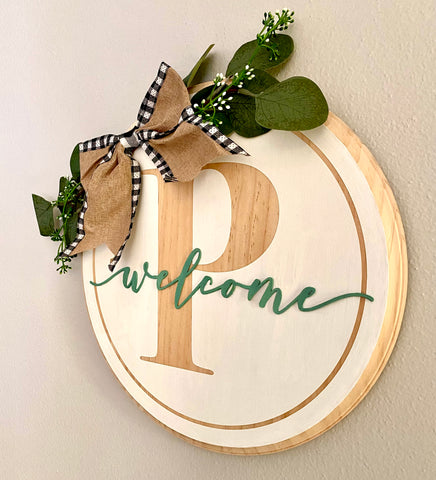
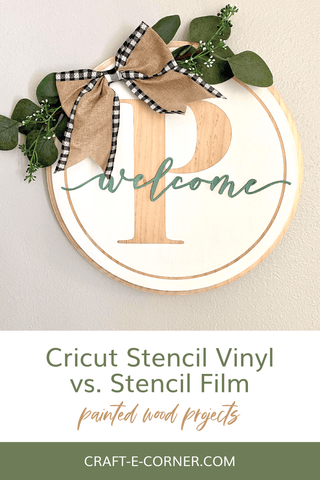
The first project I made was a round welcome door sign using the stencil film.

Directions:
1. Create your design
For this project I used a simple initial with a circle as a border. To give it a more 3D look, I cut "welcome" out of Cricut Veneer and added it on towards the end, but you could also just layer again with another stencil and paint to keep it a bit more simple.
2. Cut the stencil and weed
Cut your design out using the fine point blade and weed it. I found the stencil film was nice and easy to weed.

3. Transfer the design
Using Cricut Transfer Tape, apply the stencil film to your wood blank.

4. Paint
In the past when using vinyl as a stencil I always apply a layer of Mod Podge first to help prevent bleeding. I did the same step with this as well before painting. After the Mod Podge completely dried, I painted a few layers of paint to get a solid look for my background. Once the paint is completely dry, remove the stencil. I had little to no bleeding using this stencil. Finish with a coat of Mod Podge to help seal the paint.

5. Embellish
Next, I cut out the word "welcome" with Cricut veneer. I cut two pieces and glued them together as the veneer is quite thin, and painted it. I added a bow and some greenery.

Project 2:
Next up I tried the Cricut Stencil Vinyl on a wooden tray to be used as a wedding gift.

I followed all of the same steps as far as applying the vinyl, using Mod Podge and painting just like the first project. However, I found the stencil vinyl much more difficult to work with. It produced a lot of bubbles which led the paint to bleed in quite a few spots. I ended up removing as much as I could and redid the stencil using the stencil film.
Conclusion: I much prefer the stencil film due to its texture and flexibility. It cut well and weeded really nicely as well. I will be using this for my future projects requiring a stencil!

Materials Needed:
• Wood Blanks
• Paint
• Embellishments
• Mod Podge
• Glue
• X-acto Knife
• Cricut Veneer
• Cricut Fine Point Blade and Deep Cut Blade (for the Veneer)
• Cricut Stencil and Stencil Film
• Cricut Die Cutting Machine
• Cricut Tools
Welcome Round Sign with Cricut Veneer
Personalize Mini Wood Crates for Fall with your Cricut
Decorate a Wood Tray Using Vinyl as a Stencil
Leave a comment