On Orders $49+
On Orders $49+

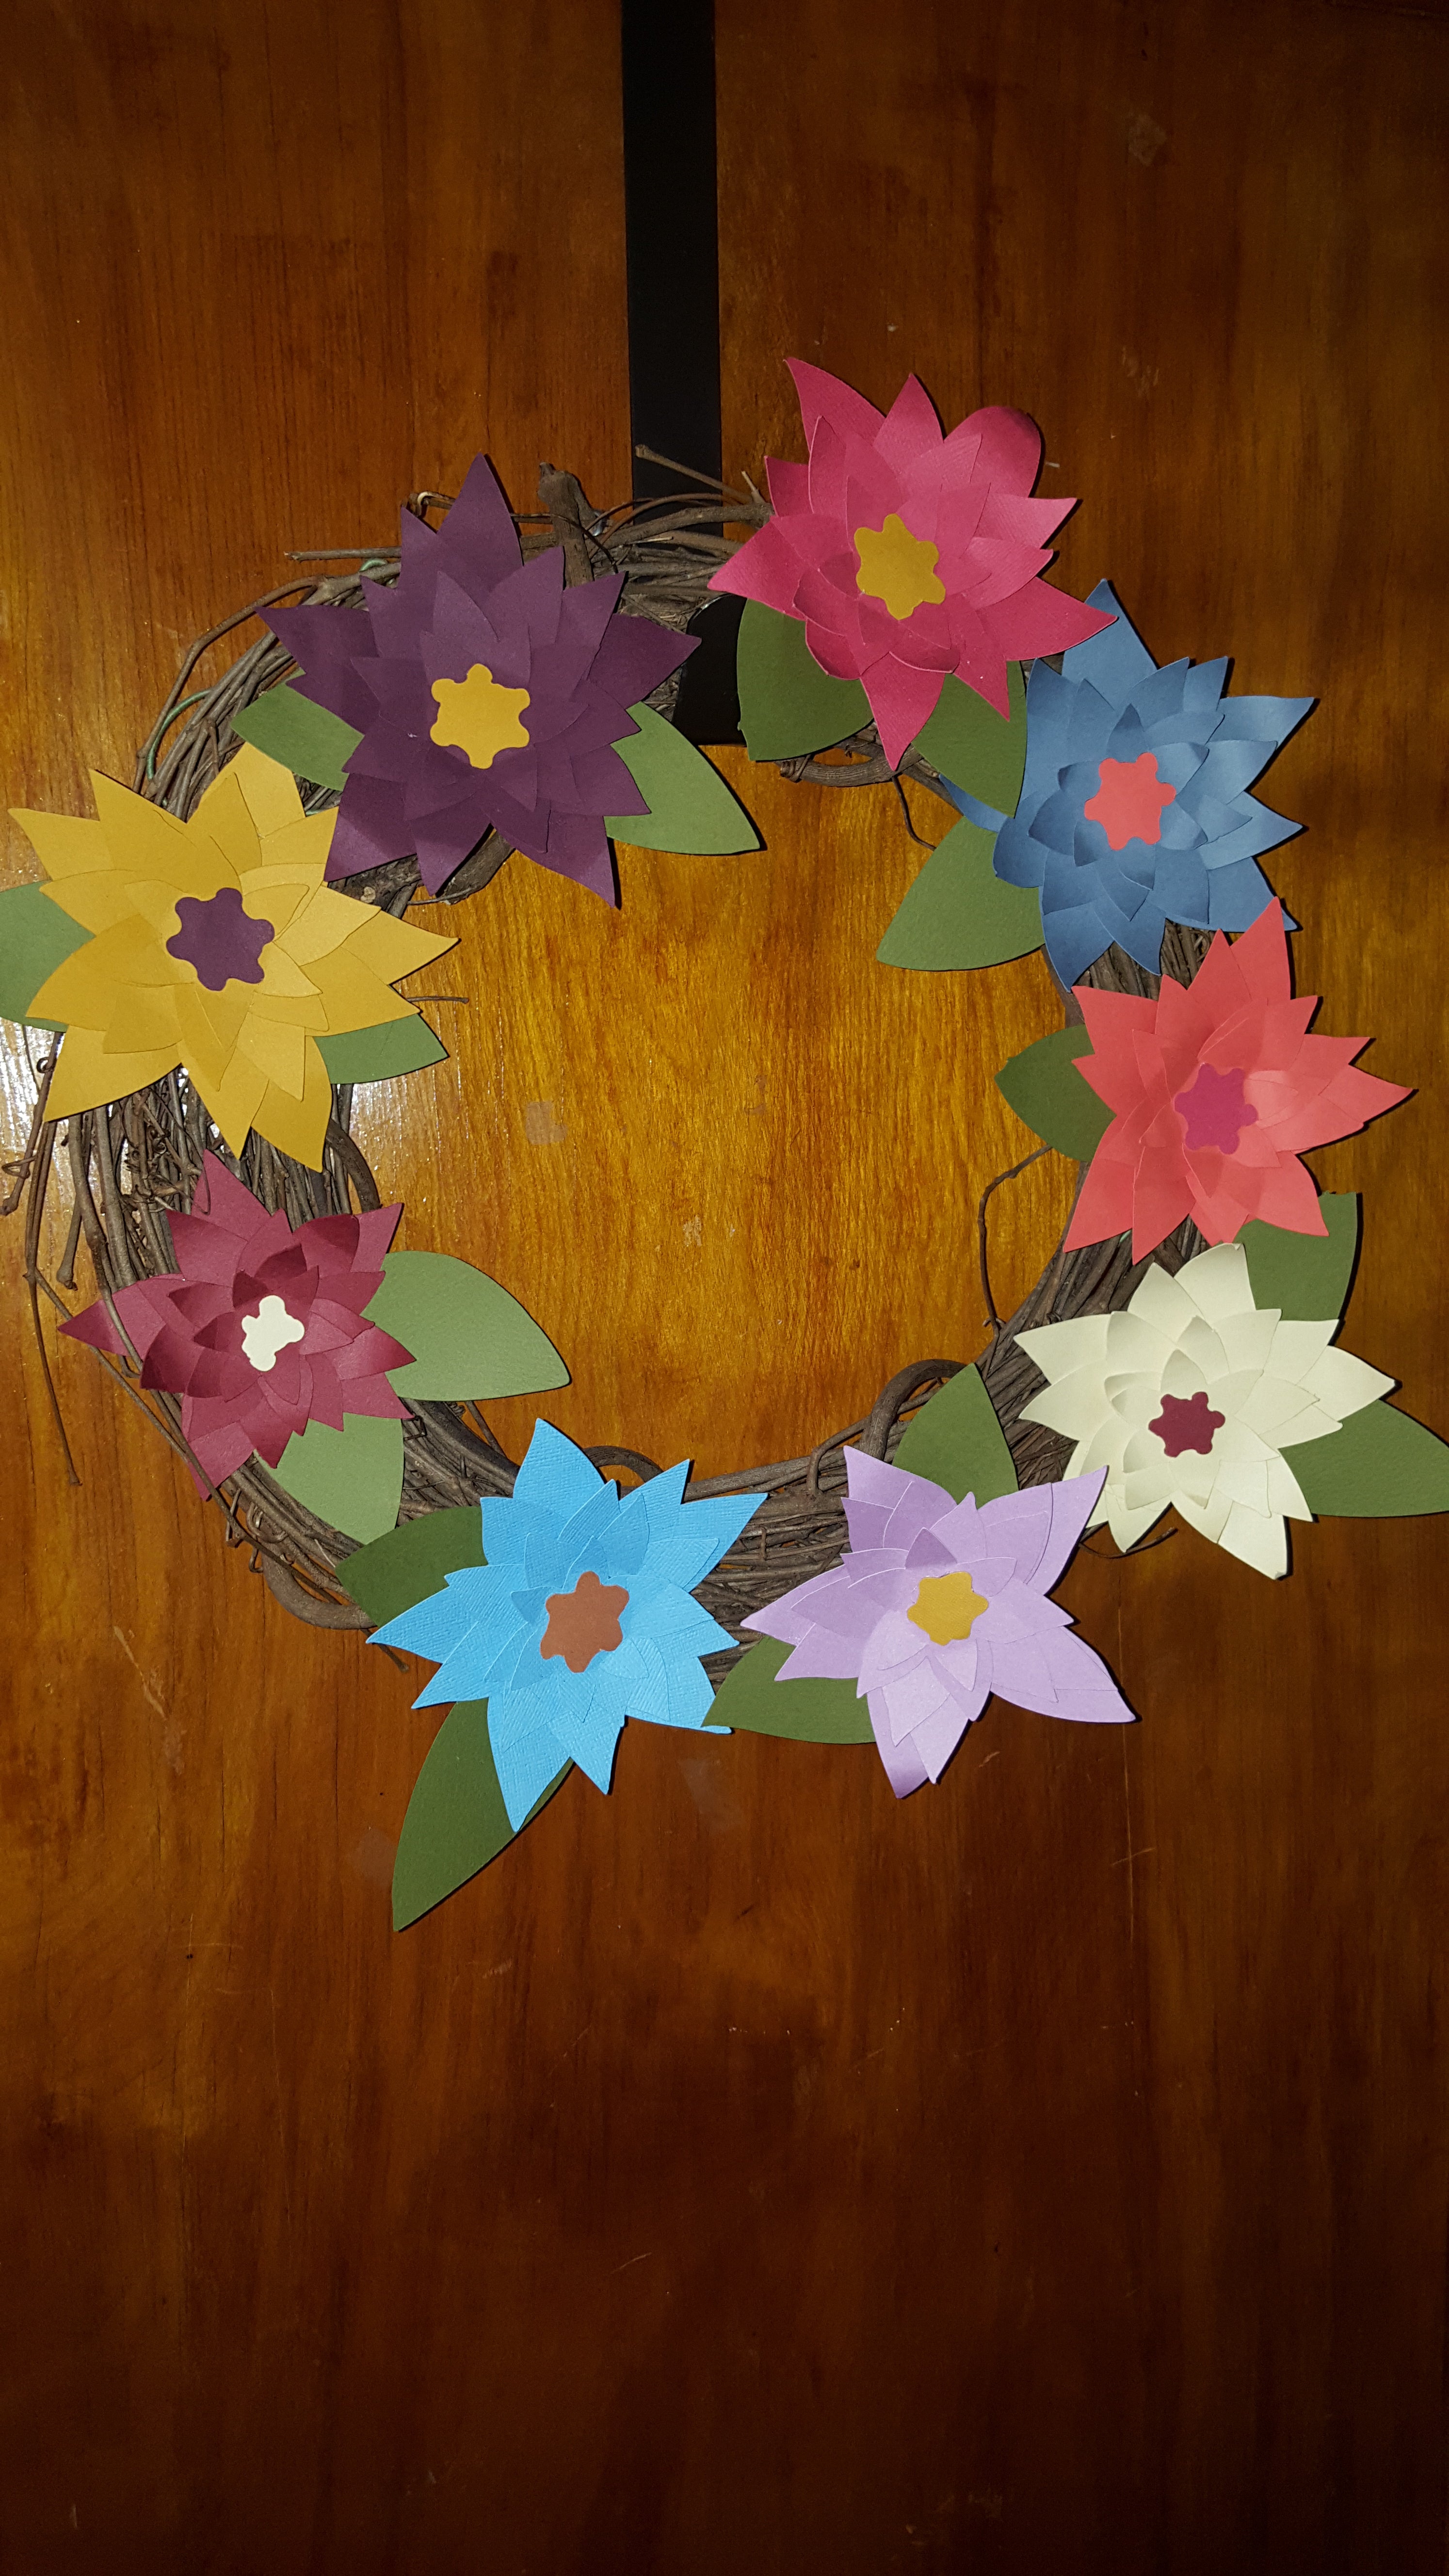
Use your Cricut machine and some of your favorite papers to create a bright, personalized floral wreath to welcome in the summer season and your visitors!


First of all I set up my cut files. I found some flower images online to use.

Then I selected an array of summery colors that I wanted to use for my flowers. (You can choose an colors that you would like to!)

I created a handful of different colored flowers so that I could mix and match once I was ready to attach them to the wreath. The extra flowers I will use for another project down the road. (I love making paper flowers!)

I used my Cricut LightGrip mat and fixed my paper to it and began to make my cuts.

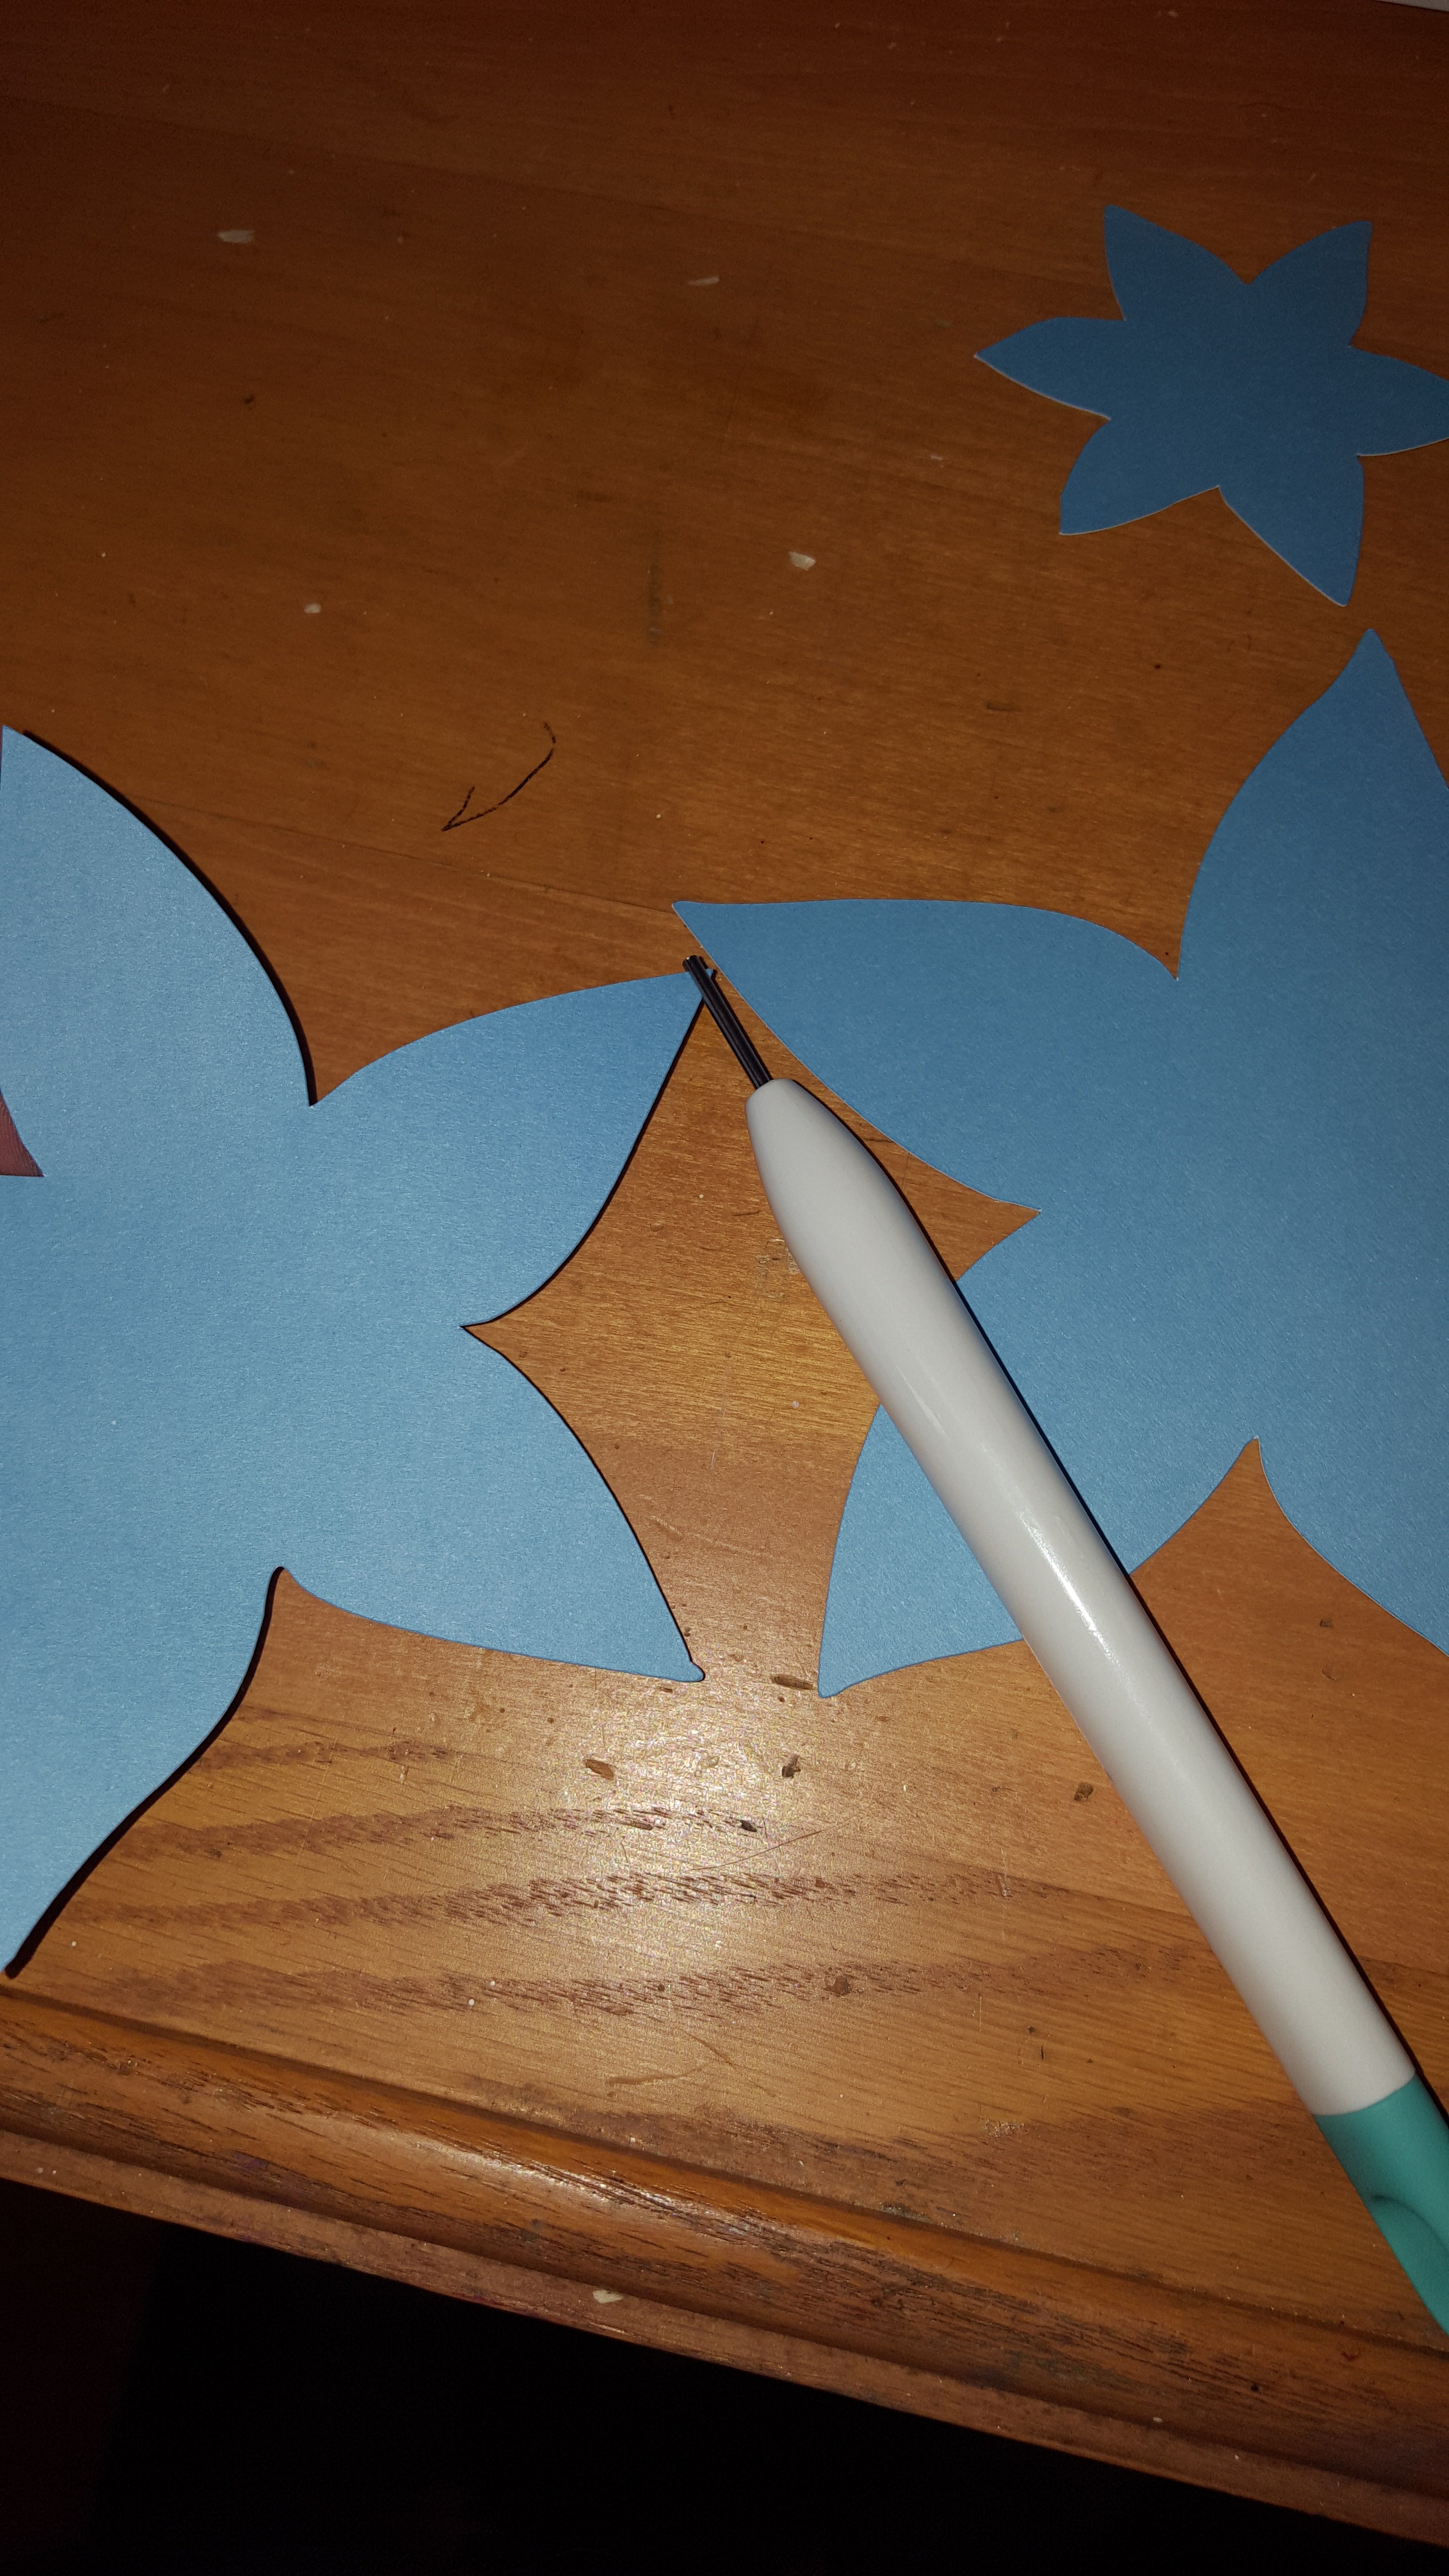
Once all of the flowers layers were cut, I took my Cricut Paper Crafting Tool Kit and used the quilling tool to curl the petals each every so slightly to give them some dimension. (I varied the amount of curling I did for each flower so that they each have their own unique look.)


Then I took my hot glue gun and glued each of the layers of the flowers (largest on bottom and smallest on top) spinning them slightly each layer to give the flower a more full and natural look. I then added the centers to the flowers and glued a small (2 inch strip) of floral wire to the back of each.

Once each flower was glued to a piece of floral wire, I began to attach them to the grapevine wreath evenly. I tried to stagger them and position them slightly differently throughout so that they once again had a more natural appearance.

I chose to use 9 different flowers as that was about as many fit on my wreath without overlapping or looking too busy. 
Adding extra little add ons like ribbon or a bow are always options as well!
Personalize a Watering Can with Vinyl
Leave a comment