
Free Shipping
On Orders $49+
On Orders $49+

Use your Cricut machine to personalize the perfect items for your summer activities. I chose to personalize a metal cooler/ice bucket. 
Materials:
Directions:
First I chose what design I wanted to put on my metal cooler. I found one that I liked and got it all set up in Cricut Design space.  I used Cricut Premium Permanent Vinyl in black because I wanted my design to stand out and be bold against the metal. I used my Cricut StandardGrip mat for the cut. I found my metal bucket that I used at Wal Mart.
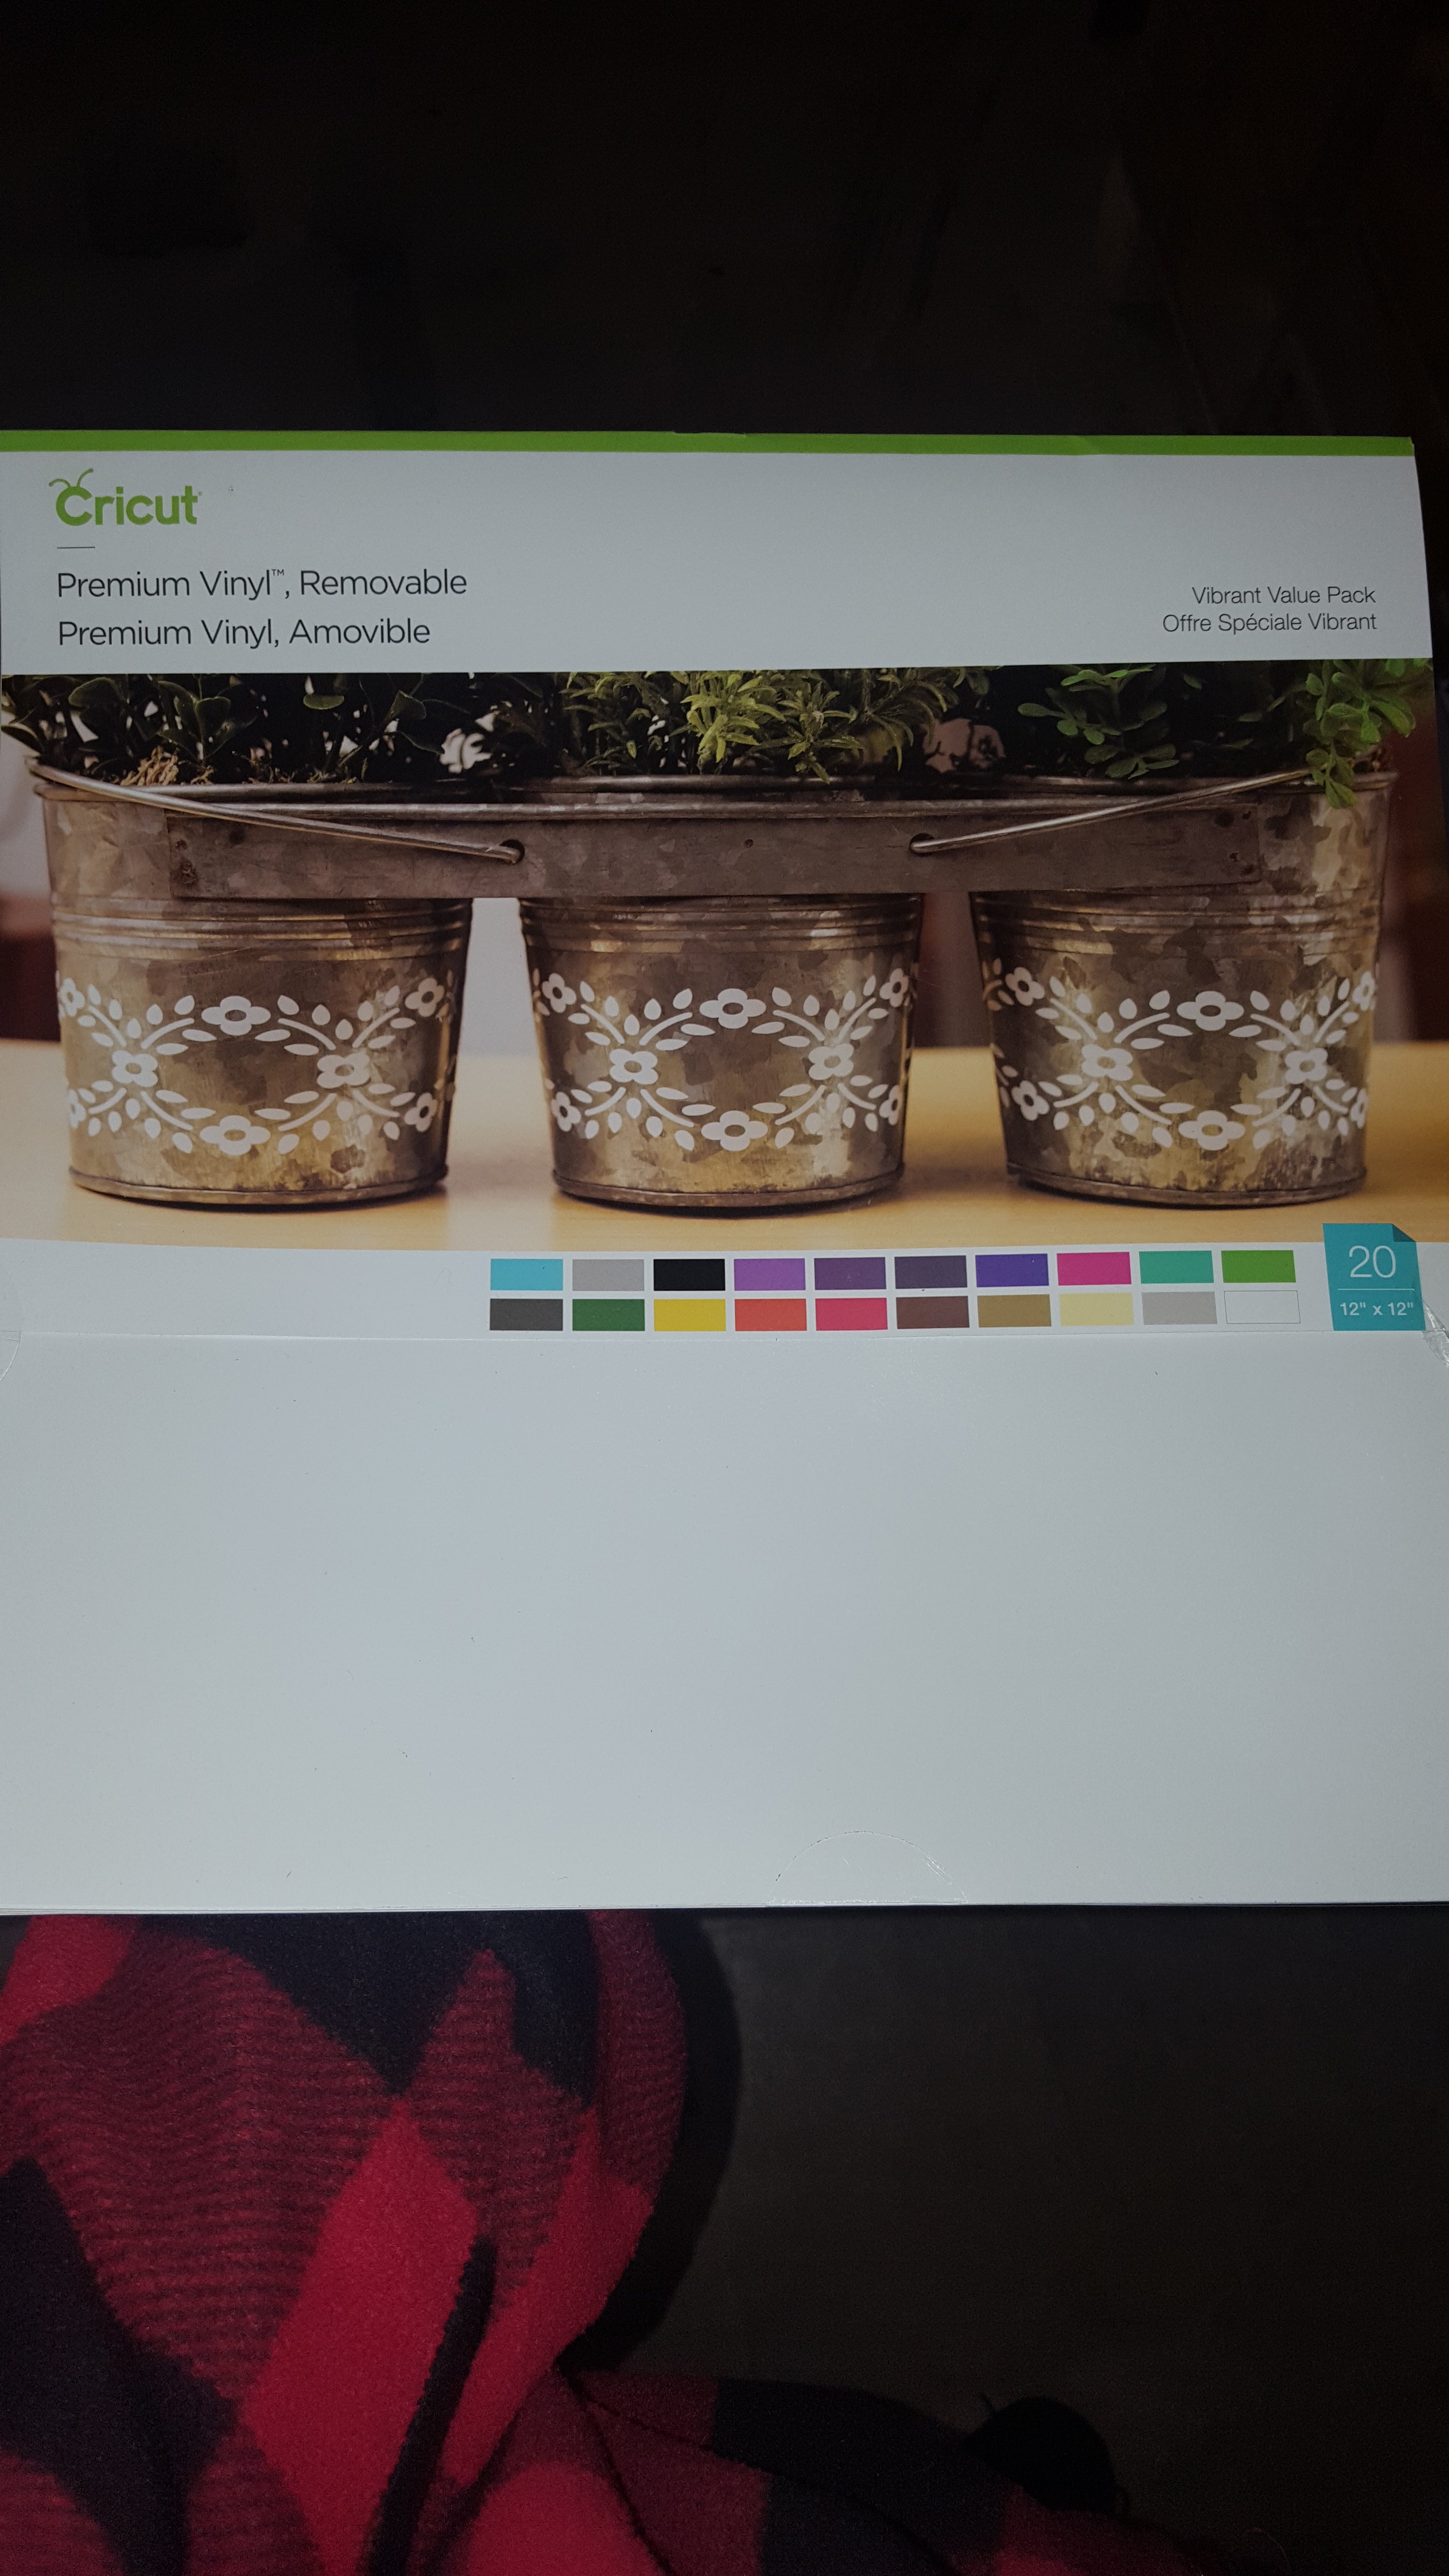
 Once I had my design cut out, I proceeded to use my Cricut Weeder Tool to weed my design with ease before using my Cricut Transfer Tape. I applied the transfer tape to my design and made sure to take my Cricut Scraper Tool and flatten everything out numerous times to ensure that my design was ready to be lifted and applied to my metal bucket’s surface.


After my design was picked up by the transfer tape I centered it on my metal bucket and pressed the transfer tape down. I once again picked up my Cricut Scraper Tool and went over the sheet of transfer tape numerous times to make sure that my design was firmly adhered to my surface.
I slowly peeled up my transfer tape while scraping and making sure that my design stayed in place.  After making sure that my design was fully adhered, I was all finished with my project and ready to fill it with ice and some sodas to relax.

Leave a comment