
Free Shipping
On Orders $49+
On Orders $49+
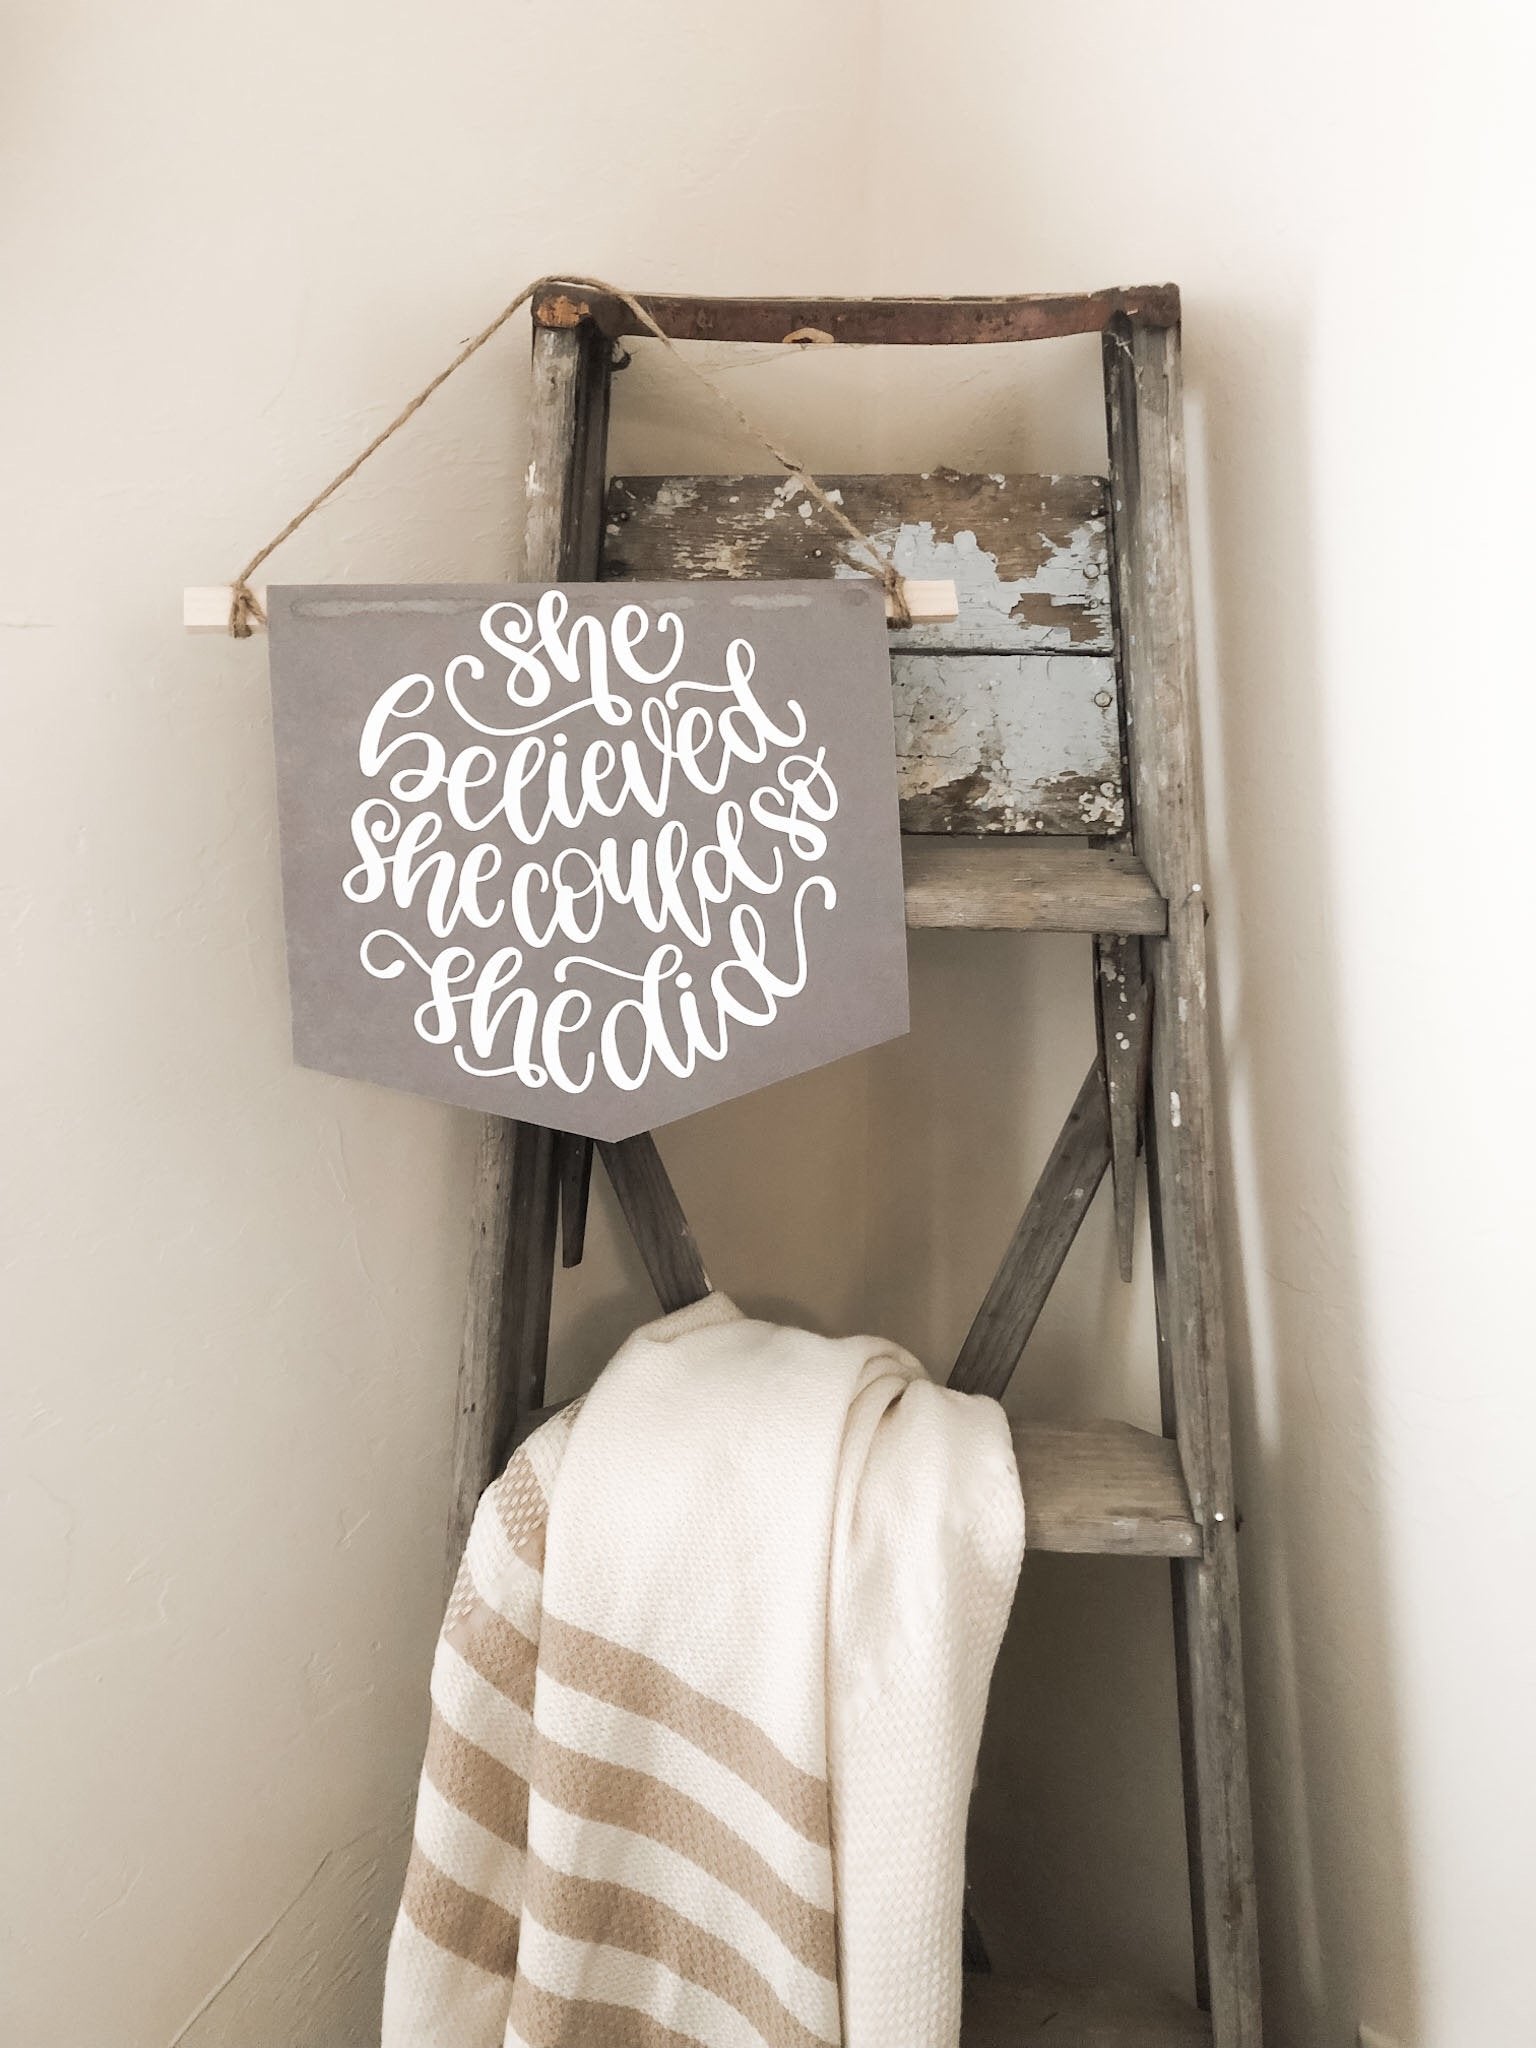

Can the Cricut Maker cut Felt?
One thing I love about my Cricut Maker is that it opens the door to more possibilities of materials to be cut. Today’s project is this felt banner along with some iron-on. While you can technically cut felt on the Cricut Explore Air 2, I’ve found it to be MUCH easier on the Maker while using the Rotary Blade.
Materials:
Let’s get started! You can either keep reading or check out the YouTube video that I made here:
To start, we are going to design our project. I created the banner image in Design Space by welding together a square and two triangles. To learn how to weld, check out our blog post that covers everything you need to know! Once you’re finished, figure out the design for the iron-on. I chose a pre-made design in Cricut Access that is free. The tag for it is #MACAE95A – if you just type that in in the search bar, the exact one will show up! I left off the hearts though in the original design. Then we are going to size them to fit the dimensions we need. I just created mine to be able to fit on a 12×12 cutting mat. Make sure you leave enough room on the top of the felt to be able to fold it over the dowel. Once you’re finished designing, it’s time to cut!
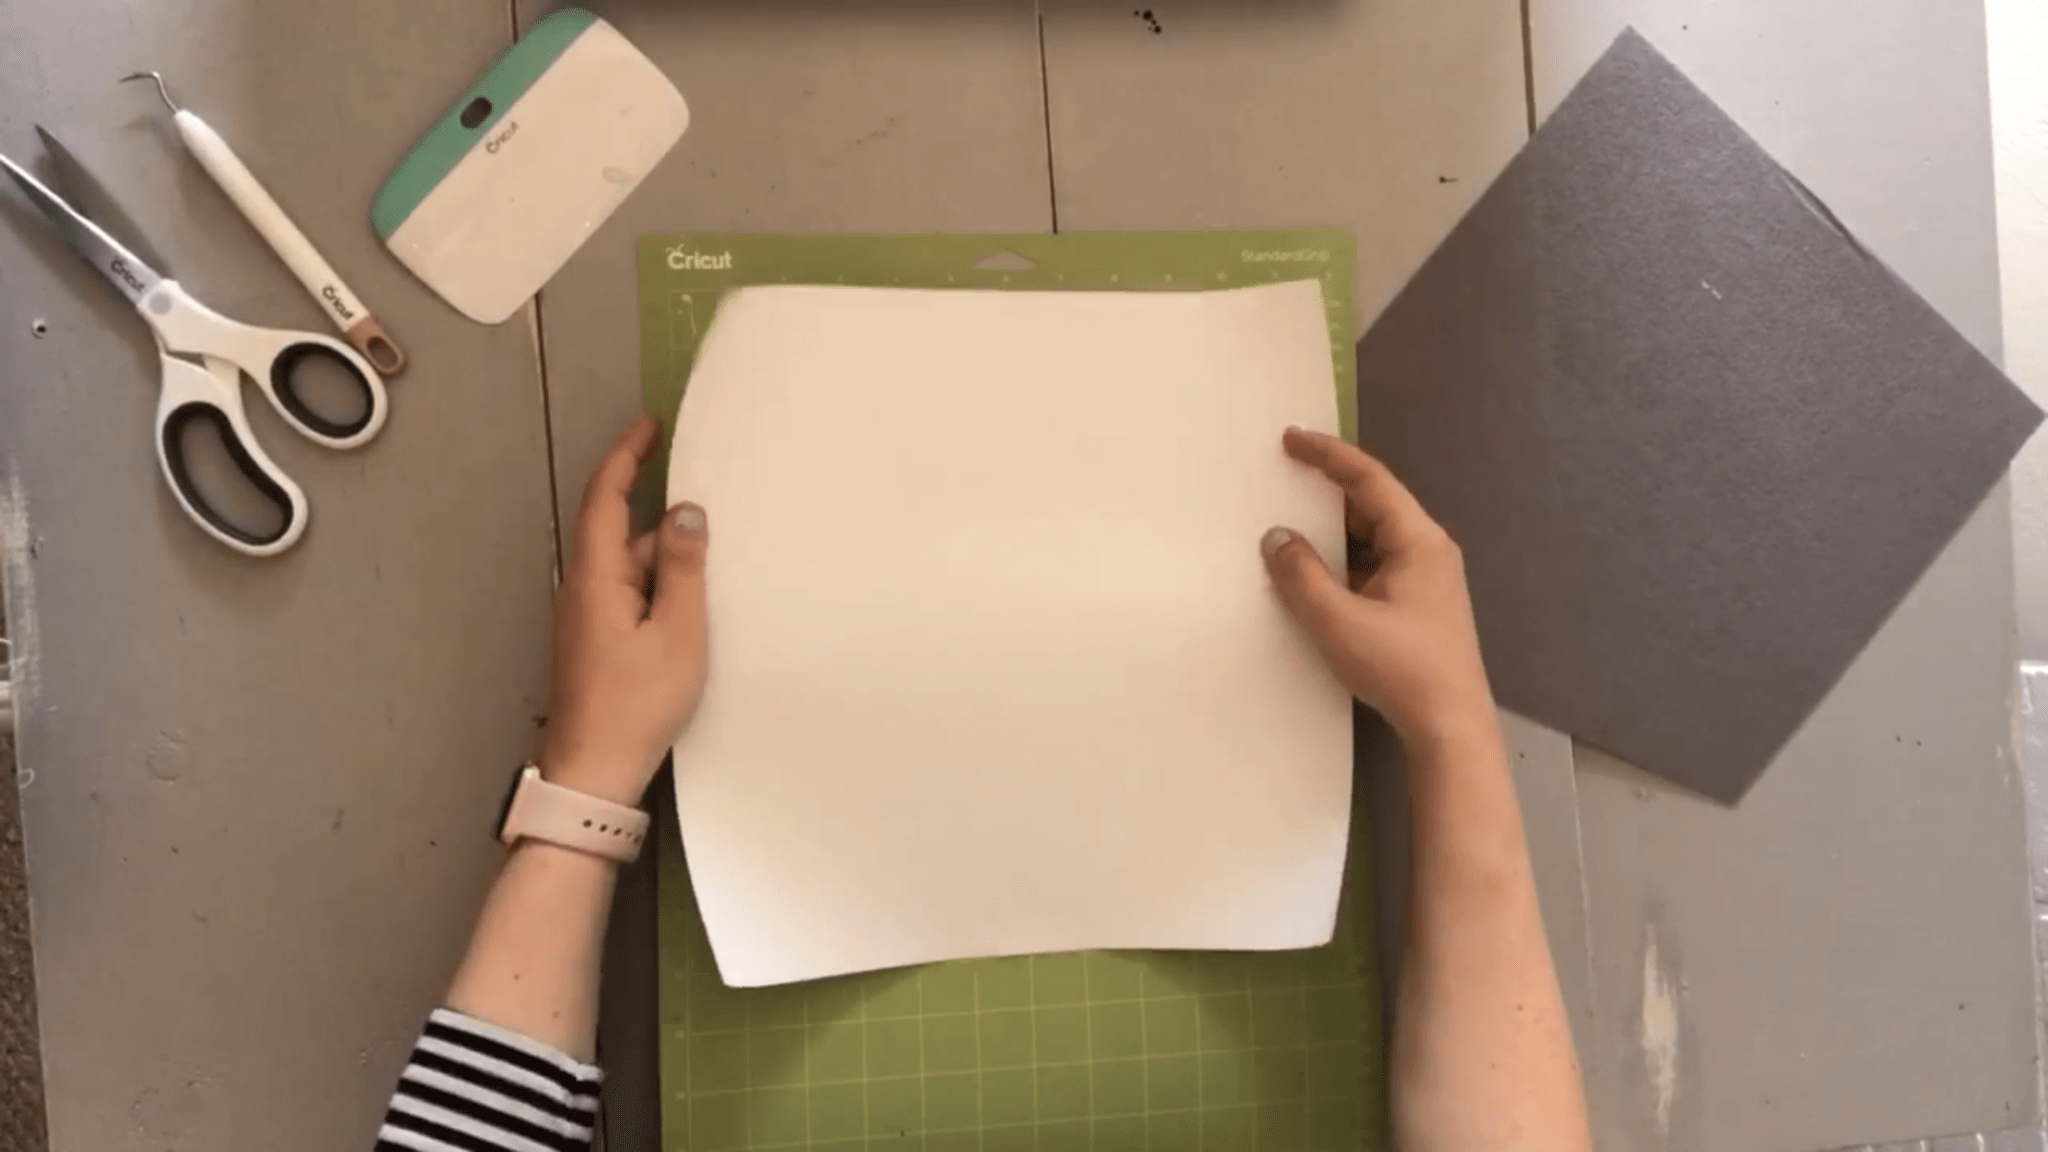
Next, we are going to cut our felt. I am using the Rotary Blade with the Cricut Maker, so the first step is going to be to insert the Rotary Blade. Then place your felt on a FabricGrip cutting mat (the pink one) and press down on the felt so it’s firmly applied. I like to use an XL Scraper for this. Then put it in your machine and hit cut!

Once that is done cutting, we are going to cut our Iron-On vinyl. Before you cut it, make sure that you click “Mirror Image” in Design Space and place your vinyl face down on your mat. I like to use the StandardGrip (green) cutting mat for iron-on. Then hit cut.
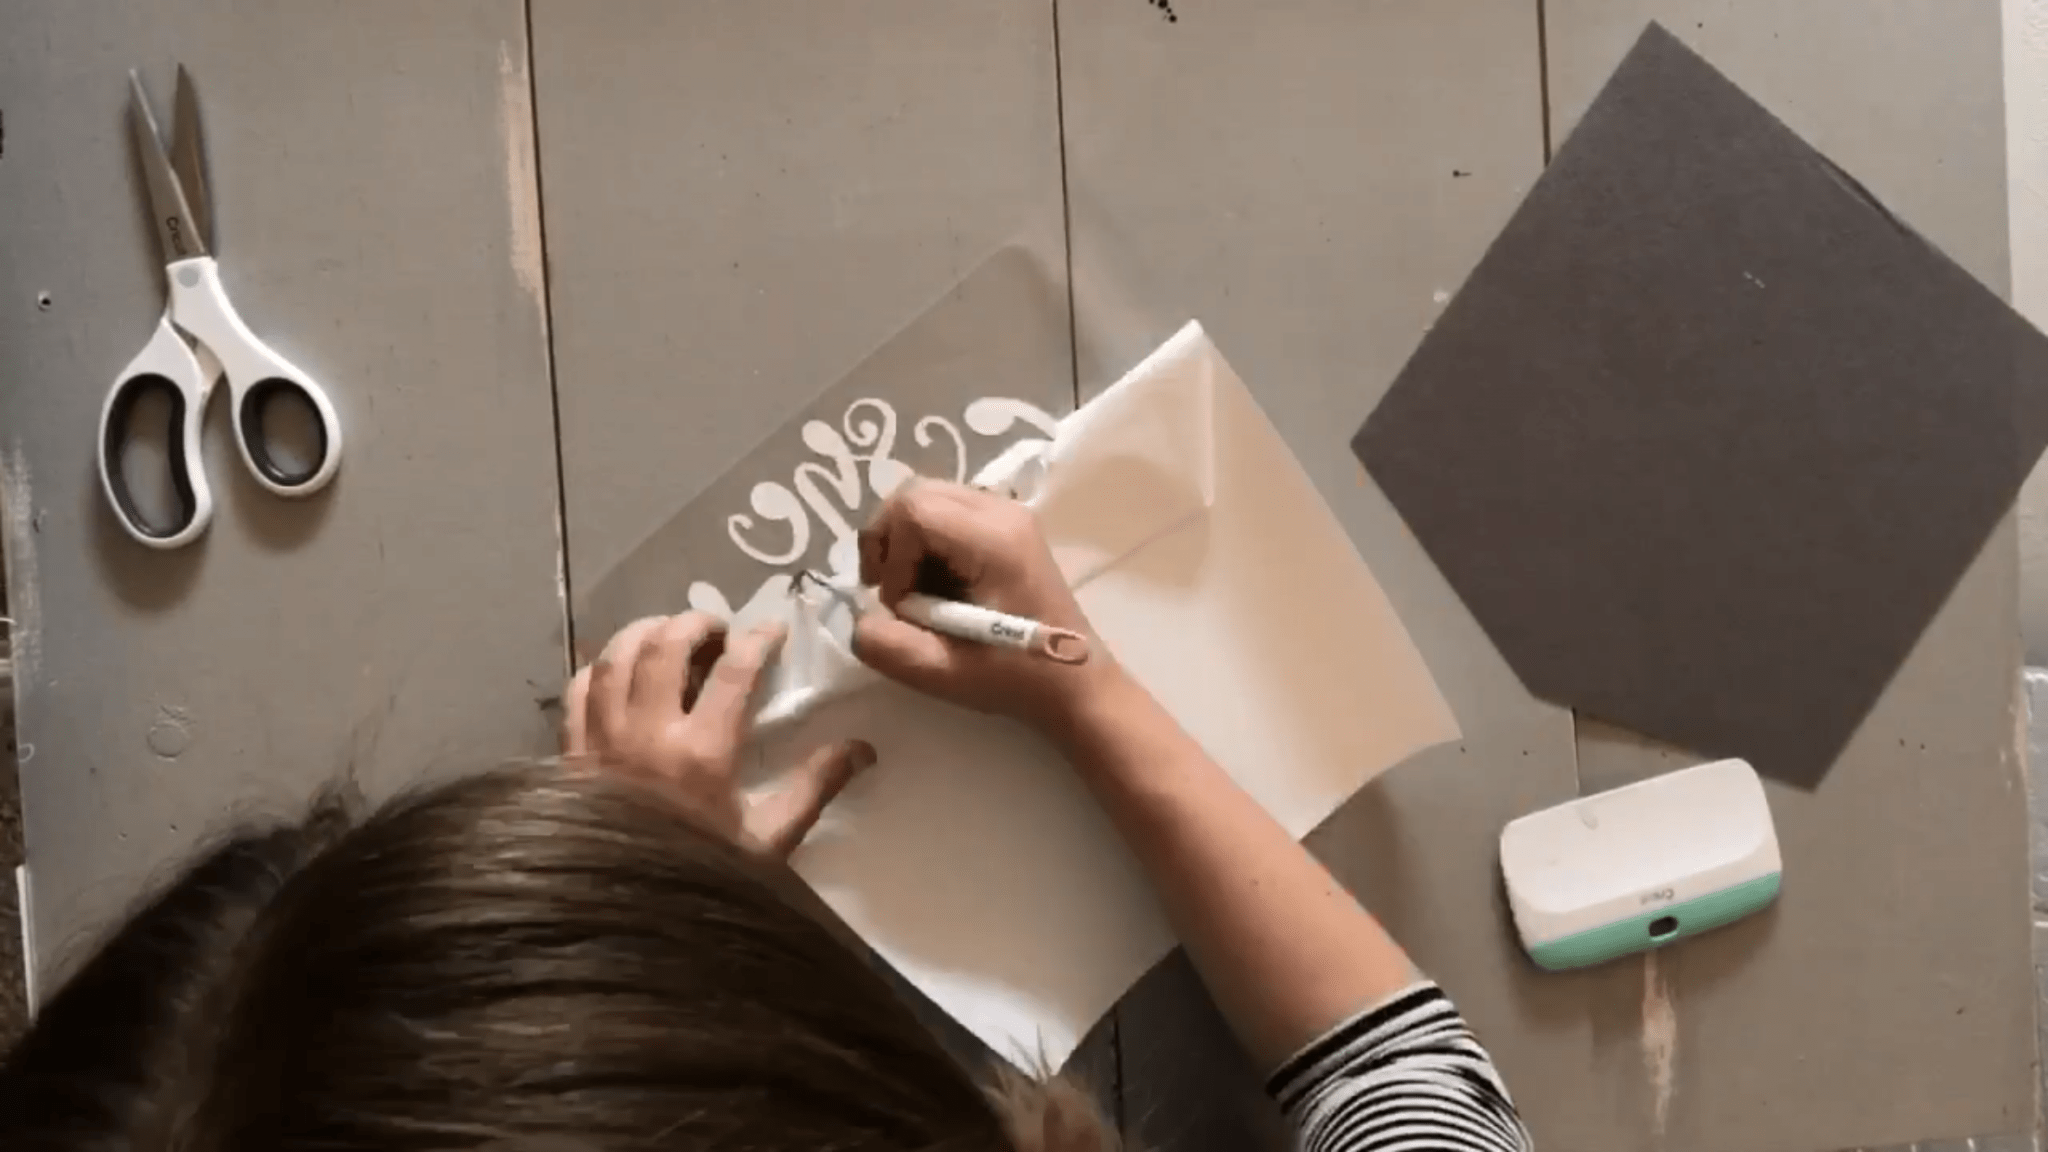
Once it’s finished cutting, weed your design so that all of the negative space around your design is removed. You just want to be able to see your design. Don’t forget the inside of the letters too!
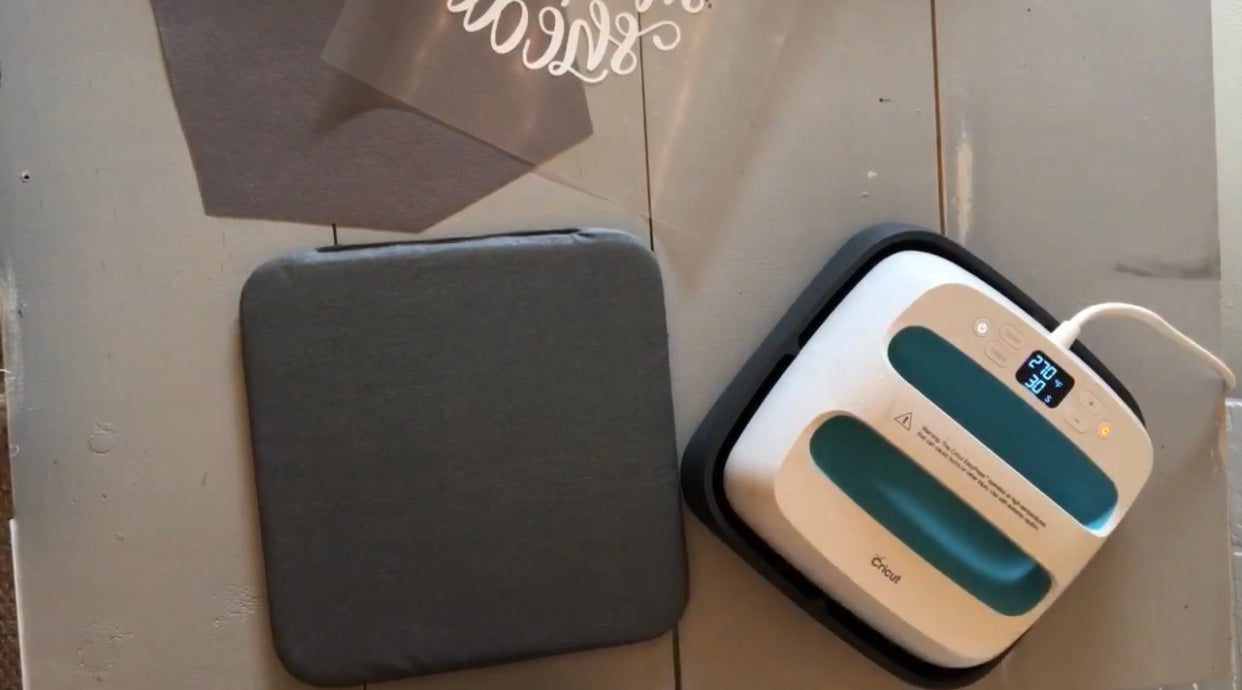
Now that we are finished cutting, we are going to apply the Iron On to the felt. To do this, I am using a Cricut EasyPress and the EasyPress Mat. If you do not have either, you can definitely do this step using a regular iron. However, I’m a HUGE fan of the EasyPress so I would definitely recommend one if you do iron-on a lot. To figure out my settings, I simply went to Cricut’s website and then selected my iron-on material and base material. It’s as simple as that! I followed the recommended settings and got perfect results.
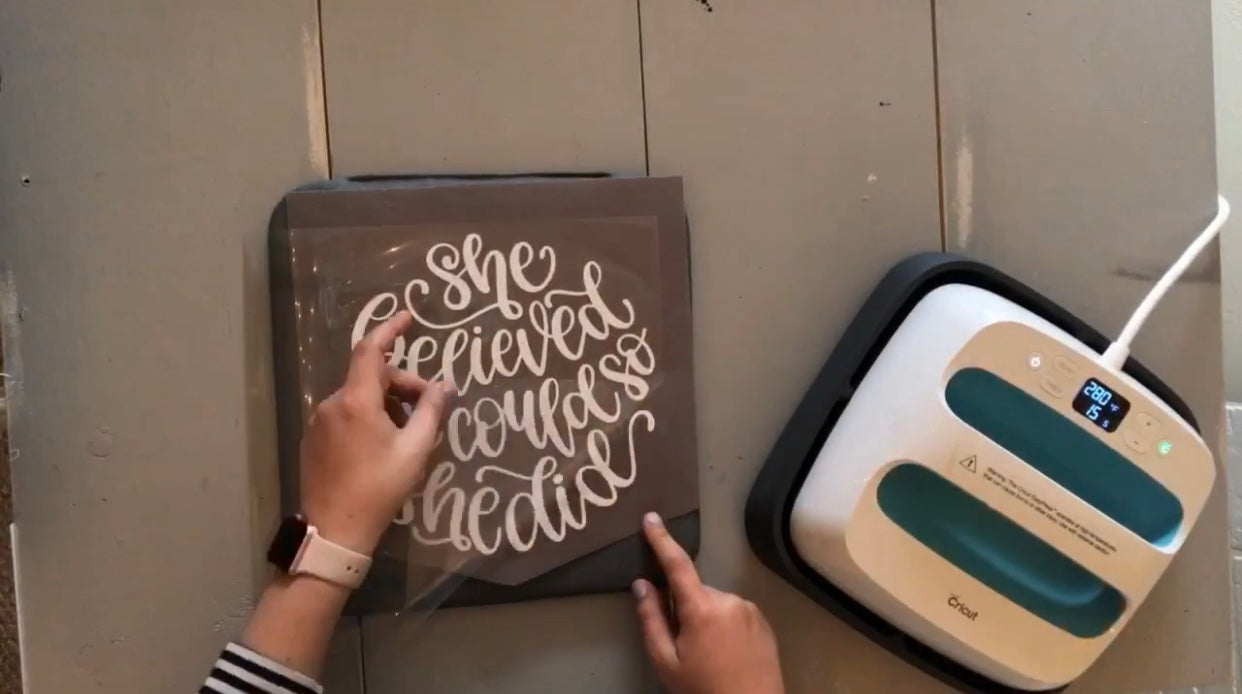
To start, I set my EasyPress to 280F and the timer to 30 seconds. Once it was heated up to the correct temperature, I applied the EasyPress on the felt and preheated it for just five seconds.
Then I applied my Iron-On to the felt. I lined it up exactly how I wanted it and then applied the EasyPress. I applied heat and gentle pressure for 30 seconds. Since my design was larger then the EasyPress, I just worked in chunks. I did one half for 30 seconds and then moved down and did the second half for thirty seconds.

Then once that was finished, I flipped over the felt and pressed the back of it for 15 seconds. Once you’re doing pressing, Cricut recommends a warm peel. This just means that you should peel the protective coating off while the iron-on is still warm. Just be careful – if you do it too soon, you could burn your fingers!
Once the protective coating is off, I like to apply the EasyPress to the iron-on directly just for a few seconds. Cricut did not recommend this in their instructions on the website, but I like to do it because I feel like it helps to secure it. Totally optional though!
Once that is finished, we are going to apply our dowel to the felt. You can do this a number of ways, but I just applied glue onto the dowel and the felt. I just wrapped the felt over the dowel and then applied a strip of glue. I used wood glue, however I would recommend using hot glue because my glue actually ended up showing through the felt, unfortunately. You live and learn! Just apply glue to both sides so that it’s secure.

Then the last thing to do is to apply twine the ends of the dowel so that it can hang! You can use twine, string or anything really. I just happened to have a lot of twine on hand at the moment, so that’s what I went with. Just tie two knots on the ends of both sides.

That’s it! You’re all finished. You could personalize your banner to say anything – I just happened to make it as a graduation gift. I think it would be adorable in someone’s dorm room too! It’s inexpensive, quick and a great first project to try out with the Rotary Blade. Let us know if you have any questions and we’d love to help you!
-Courteney
DIY Grandma Sign: A Perfect Gift for Mother’s Day!

Leave a comment