
Free Shipping
On Orders $49+
On Orders $49+

Cricut beginners, we've got your back! If you're finding it challenging to work with transfer tape on vinyl, we're here to offer you tips that will empower you to achieve successful transfers. Let's jump into the world of Cricut vinyl projects with confidence!
1. Begin with Care: When applying transfer tape, start the process thoughtfully. Instead of haphazardly placing the tape, begin at one end and gently work your way down. A slow and steady approach ensures even application, preventing kinks and mishaps.

It can be so tempting to just want to throw the transfer tape on carelessly - been there! When you're applying it, I like to start at one end, push down a little and then slowly apply the rest as you make your way down. Slow is key here! This way you will get everything applied evenly. If you don't get it applied evenly, then you're at risk for having kinks in the tape and the vinyl. It also may not apply correctly onto the vinyl and you can potentially risk your project. The end goal here is to get your tape applied evenly on the vinyl so that you can successfully transfer it to your blank.
This tip works for both when you apply the tape on top of the vinyl (as seen above) and also when you're applying it onto your surface.
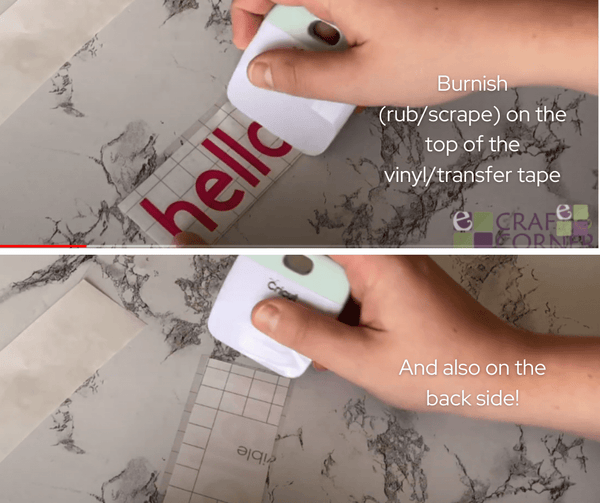
2. Double Burnishing: After applying transfer tape to your design, don't forget to burnish both the front and back of the vinyl/transfer tape combination. This double burnishing process aids in securing the vinyl to the tape effectively.
3. The 45-Degree Rule: When it's time to remove the transfer tape, remember the 45-degree angle rule. Start by picking a corner and pull down at a 45-degree angle. This method maintains control and precision.

This has helped me SO much! First, pick a corner and remove at a 45-degree angle. You'll obviously start this way since you're starting in a corner but I like to continue using this angle as I'm removing it.
4. Gentle Rocking Motion: As you peel off the paper that the vinyl adhered to, employ a gentle rocking motion at a 45-degree angle. I don't really know why this helps to be honest, but I've found it to be extremely helpful!
5. Maintain Tension: To ensure a smooth transfer, it's crucial to pull down tightly and keep the paper almost level with your surface. This technique works wonders for both removing the paper backing from the vinyl and peeling off the tape from your project surface.
If I had to pick one tip to share with you today, this would be one of the most important in my book. Do you see how I'm pulling the transfer tape across the chalkboard? Now that we've got our 45-degree angle and we are rocking back and forth slowly, it's also important to pull tightly, almost just dragging it across the surface you are working on. This has helped me a lot! Again, you can use this tip for when you are removing the paper backing from the vinyl and also when you are removing the tape from your surface (as seen above).
6. Save Scrap Vinyl for Practice: When you're just starting with transfer tape, practice makes perfect. Keep your scrap pieces of vinyl and use them to hone your skills. Apply vinyl to various surfaces, such as a cardboard box, to gain confidence.
When I first got started with transfer tape, I was terrible at it and I didn't really understand it either. I have had a Cricut for nearly five years now, so I've had a lot of practice working with transfer tape! I really believe the more you practice, the easier it will become. So all that to say, save your scrap pieces of vinyl and practice, practice, practice! You can apply vinyl on just about anything — maybe keep a cardboard box and practice applying on that. You've got this!
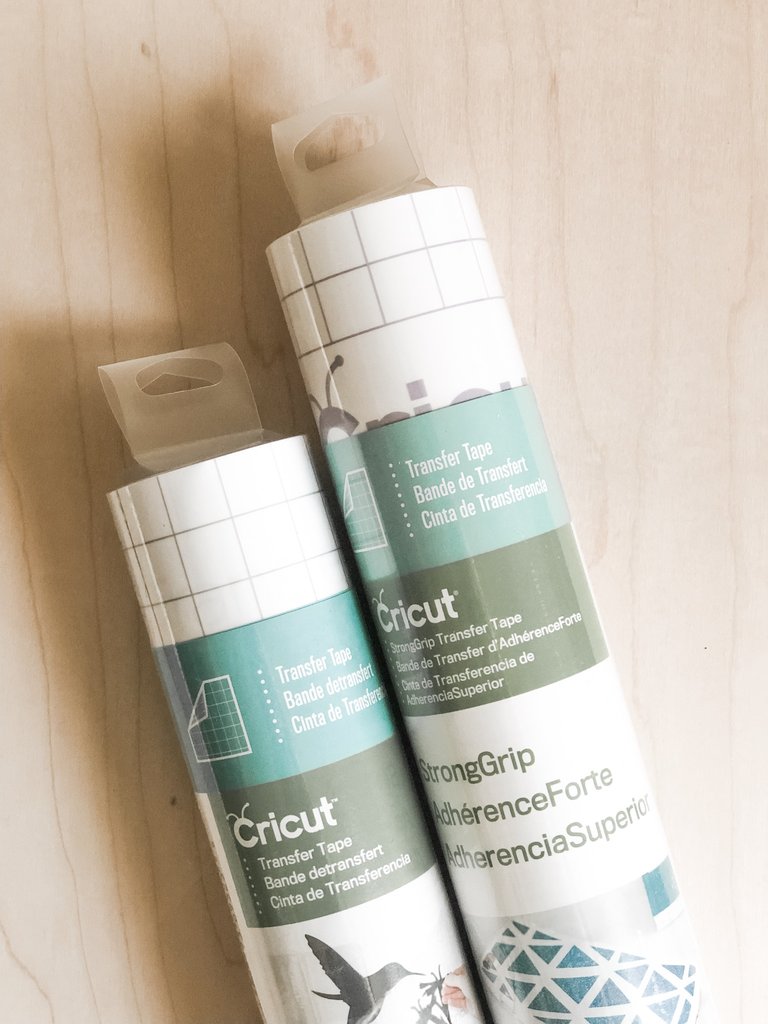
7. Strong Grip vs. Regular: Cricut offers several types of transfer tape including Strong Grip Transfer Tape and Regular Transfer Tape. Strong Grip is designed for heavy-duty materials like glitter vinyl, while Regular is suitable for most other vinyl types.

If you didn't know already, Cricut carries several types of transfer tape, including Strong Grip and just regular transfer tape. The Strong Grip is for really thick, heavy duty vinyl that they carry - like glitter vinyl. Sometimes you'll find that the glitter vinyl comes with the transfer tape! If not, you'll need to get Strong Grip. But for basically every other kind of vinyl, use the regular transfer tape! If you apply Strong Grip on top of regular vinyl, you may not be able to get it off. I've definitely done this before and ruined my vinyl.
8. Reuse Your Transfer Tape: Here's a money-saving tip - reuse your transfer tape until it's barely sticky. No need to waste perfectly good tape!
Maybe this is common sense but I didn't know this in the beginning and I threw away A LOT of transfer tape. Now I continue to reuse my transfer tape until it's barely sticky anymore!
9. Explore Different Transfer Tapes: While Cricut transfer tape is widely used, there are alternative options available. Some come in various forms, including clear, gridded, or masking tape-style transfer tape. You can even experiment with press-n-seal or contact paper.
10. Patience is Key: Our final tip, and arguably the most critical one - go slow! This is especially important when working with intricate vinyl designs. As a beginner, patience can be your best friend.
With these 20 tips in your crafting arsenal, you're well-prepared to tackle vinyl and transfer tape projects with newfound expertise. Success and satisfaction in your Cricut projects are now well within your reach! Happy crafting, friends!
Everything You Need to Know about Cricut Transfer Tape
Comments
Leave a comment