
Free Shipping
On Orders $49+
On Orders $49+
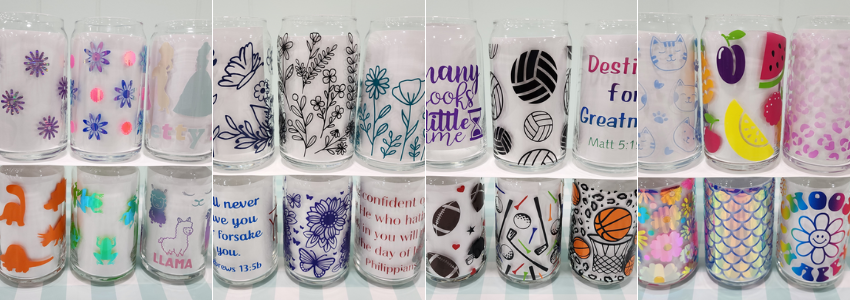
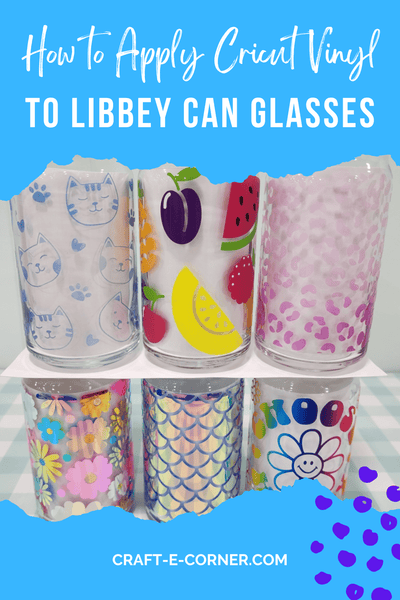
Have you ever personalized Libbey can glasses with Cricut Adhesive Vinyl? I decorated a whole set of them with permanent vinyl and shared a post about it recently. Now I will show you how I did it, including how to apply layers in different colors.
Materials
Libbey can glasses in desired size
Cricut Explore or Maker
Permanent adhesive vinyl
Cutting mat
Cricut tools
Cricut Portable Trimmer
Transfer tape
Parchment paper
Rubbing alcohol
Creating the Designs
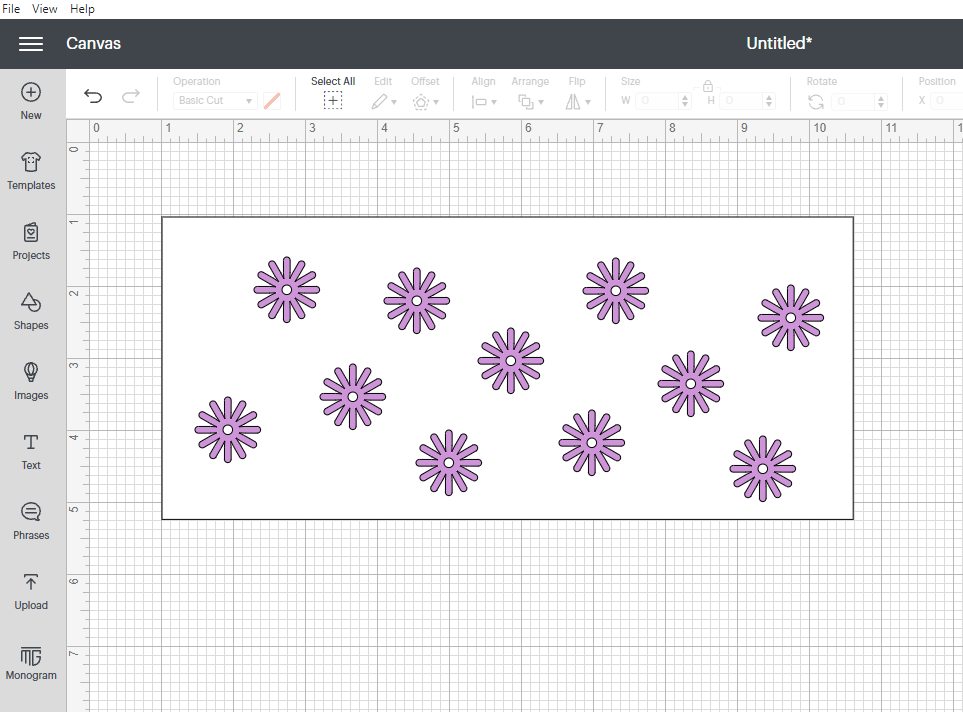
I first created a simple design of flowers placed randomly in a wrap template, which I cut out of a single color. I created several designs this way, although some included several different images instead of all the same one.
Next, I moved on to using a purchased wrap design, which was also cut in a single color. This was fairly easy, since all I had to do was upload the design into Design Space, make sure the dimensions would fit my glass, cut it out, and weed it.

I went on to use several more purchased wrap designs in single colors.
Next, I moved on to creating my own layered design. I uploaded another flower image from Design Space and again arranged it in a wrap template. I then chose a scalloped circle from the Shapes menu, duplicated it and arranged the circles between the flower images in the template.

I made the flowers and the circles different colors and duplicated the design for cutting each layer separately. I used the Layers Panel to hide the circles for the flower wrap and then hid the flowers in the circle wrap.

After grouping and attaching the two designs, I cut them out separately, each color on the cutting mat one at a time. Then I weeded both wraps, and they were ready for application.

Transferring Designs to Glasses
Before applying vinyl to my glasses, I cleaned each one with rubbing alcohol to ensure good adhesion.
I started with my single layer designs. At first, I used two pieces of transfer tape with a half-inch strip of the design left uncovered in the middle. I positioned the wrap as evenly as I could and stuck the center strip of transfer tape to the glass, then worked my way around removing the transfer tape backing slowly in each direction.

Once the entire wrap was applied, I carefully peeled off the transfer tape. This process worked pretty well, as you can see below.
![]()
However, I found a better way - using parchment paper between the design and the glass. This is an easier way to prevent the vinyl from sticking itself to the glass from static cling. Once the vinyl is stuck to the glass, it's pretty much impossible to get it off and reapply it.
I used the parchment paper method with the remaining glasses. It was especially helpful for applying multiple layers. I cut a piece of parchment paper the same width as the design wrap but a little longer.

I placed the parchment paper underneath the design wrap, folding it back about a half inch of it to leave a bit of the design uncovered. I repeated this process to get all the layers onto the transfer tape.

Once all the layers were on the transfer tape, my design was ready to be applied to the glass, again using parchment paper between the design and the glass.

I wrapped the design around my glass, moving it slightly to make it even. When I was satisfied with the placement, I stuck the half-inch end of the design to the glass. Then I started to slowly pull back the parchment paper from underneath, pressing down the design to adhere it as I went around the glass.

I used a cup cradle made for crafting to hold my glasses, but you can just as easily hold them on your lap or make it work another way. I invested in this tool because I was making so many of these glasses.
Two Options for Applying Layered Designs
There are two different ways to go about applying multiple layers to your can glasses, and I used both methods, using the parchment paper hack with each.
Method One
Continue adding layers to one piece of transfer tape and then apply the entire design to your glass at once. This is the method I used for most of my glasses.
The princess glass above was done that way as well as the one shown below, which had quite a few different layers.

This one was more work, but I love how it turned out!

Method Two
Apply each layer right to the glass with transfer tape individually, one at a time. I was concerned that continuing to use transfer tape over the applied designs would cause them to come off, but it did not. I used that method mainly for glasses with only a couple layers.
Both ways seemed to work well. I mainly decided which method to use for each glass based on how many layers my design had and how small or intricate the components were.
I did prefer method one, especially for multiple layers with intricate designs. Once the vinyl is applied to the glass, it is there permanently. You could probably get it off, but then you would have to start over.
A Word of Caution
Some of my layers did not line up properly once I had them cut. out I had to apply some individual pieces by hand, one by one, in some cases. This happened both with my own created designs and with purchased designs.

I may have changed the dimensions of one layer and not the others, or I could have somehow mirrored a layer before cutting it. I don't really think that happened, but it's possible.
It could be that the purchased designs were not created perfectly. Whatever the case, I made the designs work however I needed to. I don't give up easily, and I ended up with 24 fun glasses. I would totally do it again.

Tip: Make sure all of the layers are together in Design Space, one over the other, before changing the dimensions of your design. That should ensure that everything comes out properly.
Are you ready to try your hand at personalizing Libbey can glasses? They are so fun to do, and the results are spectacular. I know we will use ours for years to come. I will always hand wash them, too, so they last as long as possible.
Glitter, sparkle, shine. But most of all, be kind.
Leslie
Libbey Can Glasses Personalized with Cricut Vinyl

Leave a comment