
Free Shipping
On Orders $49+
On Orders $49+

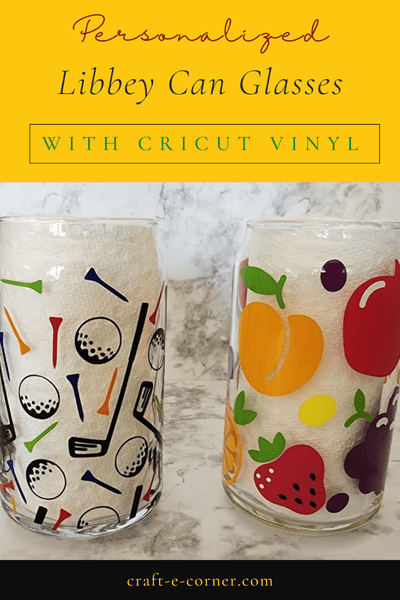
Have you seen the Libbey can glasses that are so popular right now? They are simply drinking glasses shaped like a soda can. You can personalize them using your Cricut machine and permanent adhesive vinyl. Create your very own collection for entertaining, for everyday use, or make some as gifts.
Conception
When I first saw these Libbey can glasses, I fell in love with them and knew I had to make some of my own. I decided almost immediately to make a whole set of them for entertaining. They would be perfect for Thanksgiving.

Maybe multiple glasses with the same design would have been easier, but my idea was to make every glass different. That way, everyone can easily remember which glass is theirs. Same concept as plastic cups with names written on them, only better.

I purchased a set of 24 glasses, chose different categories and ended up with 4 glasses for each one. The categories included sports, children's designs, wildflowers, individual flowers, Bible verses and other miscellaneous designs I found and liked.
Materials
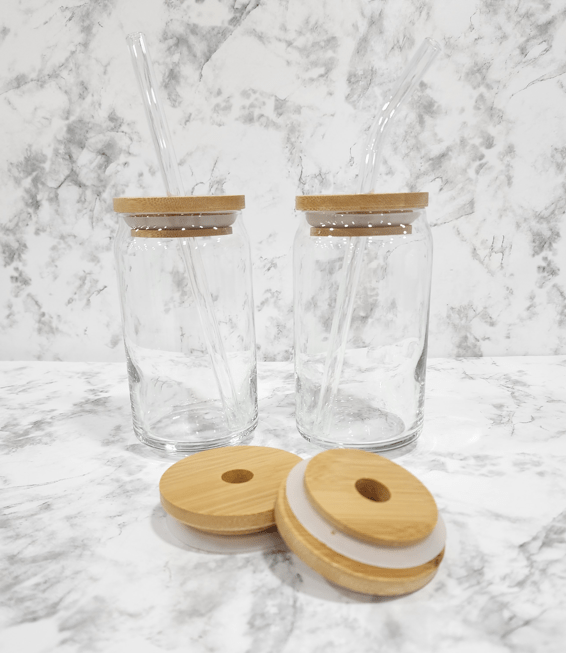
These glasses come in 16-ounce and 20-ounce sizes. I got the 16-ounce ones, which are the size of a standard soda can. I did not realize there were larger ones until after I purchased these. They are often called beer can glasses. You can purchase them with lids or without.
I applied all the designs to the glasses with various types of permanent vinyl.
Preparation
I prepped each glass by putting rubbing alcohol on a paper towel and rubbing it over the glass. This prevents any dirt or lint from interfering with the vinyl transfer.
In the beginning, I created my own designs in Design Space, using a rectangular template for sizing. I made the template white and sized it to 9.5 x 4.19 inches. I later found that 9.25 x 4.25 were better dimensions, but I sometimes adjusted them, depended on the design I was using.

I inserted images from Design Space onto my Canvas and sized them to fit the template. Sometimes it was a single image that I arranged randomly or turned in different directions. Other times, I used different images of the same item or even added text.

Next, I tried using different colors and layers as well as different types of vinyl, including holographic, shimmer, pearl and multicolored vinyl. My skill level progressed as I continued decorating the glasses.

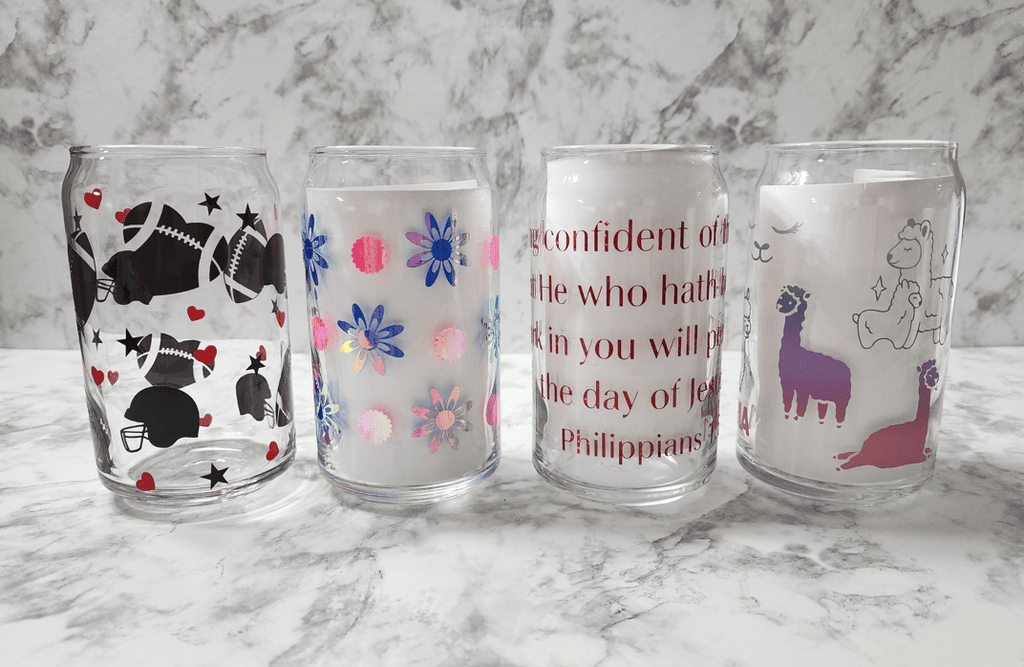
I also began using premade wrap designs. There are so many cute ones, and why should I reinvent the wheel? Many of the SVG design wraps did cost a dollar or two, but the prices were minimal compared to the time I saved. I found them mainly on Pinterest and Etsy. Below are four purchased wildflower wrap designs I used.

One thing I learned (the hard way) is that you cannot trust that a purchased wrap design will fit on your glass, even if it is made for the size glass you are using. There are other manufacturers of these glasses besides Libbey, and even the same brand can vary slightly in size.
Tip: Always measure the circumference of your glass and size your wrap or design accordingly before cutting.
You may need to change the size of the wrap based on where you want the edges of the design to meet. If it's a full wrap design, you will want the edges of the design to almost touch each other, like in the glass shown below.

For this one, I left the wrap sized as purchased after measuring around the glass to make sure it would fit well. You can see that the edges met better at the bottom that at the top, but I thought it was close enough.
For my own designs, I found images in Design Space and arranged them randomly in the wrap template, using a single layer for each. It's no surprise to me that I had the most fun with the children's designs.

I started out using mainly one color of vinyl on a glass with a simple design and then progressed to multi-colored, layered designs. Some had 2 or 3 layers and some had even more. I did find these more challenging but learned a lot along the way.

Near the end of this project, I tried some color changing vinyl from a different brand, as Cricut does not currently sell color changing vinyl. The glasses turned out great. They don't look like much with just the vinyl. In fact, I had to put dark washcloths in them to show the designs better.

But when I filled them with cold liquids, they looked amazing! I am so glad I tried color changing vinyl. I would definitely recommend it.

Tip: There are different types of color changing vinyl: Cold Color Changing and Heat Color Changing. If you try some, be sure to pick the correct type for what you plan to put in your glasses (or mugs). I even saw UV Color Changing Vinyl. Too cool.
My grandchildren love the glasses I made, and they want to use them every time they come over. I even let the 3-year-old use them. Having lids and straws for the glasses makes a big difference, and I don't let the children walk around the house with them.
Are you inspired to make your own Libbey can glasses now that you've seen all the different options for personalizing them? Be on the lookout for a coming post with instructions for applying vinyl to the glasses, including how to layer the different colors.
You can't use up creativity. The more you use, the more you have.
(Maya Angelou)
Leslie
How to Make A Custom Coffee Mug with Cricut Joy

Comments
Leave a comment