
Free Shipping
On Orders $49+
On Orders $49+

Are you intrigued by the stunning world of 3D light-up paper lanterns that you’ve seen in those eye-catching SVG designs for your Cricut cutting machine? If you’ve been curious but hesitant, wondering if these creations might be too complicated to tackle, you’re not alone! In this blog post, we'll break down the essential elements these designs share and provide you with the confidence to embark on your DIY journey. With a little time, patience, and the right guidance, you’ll discover just how achievable this project can be.
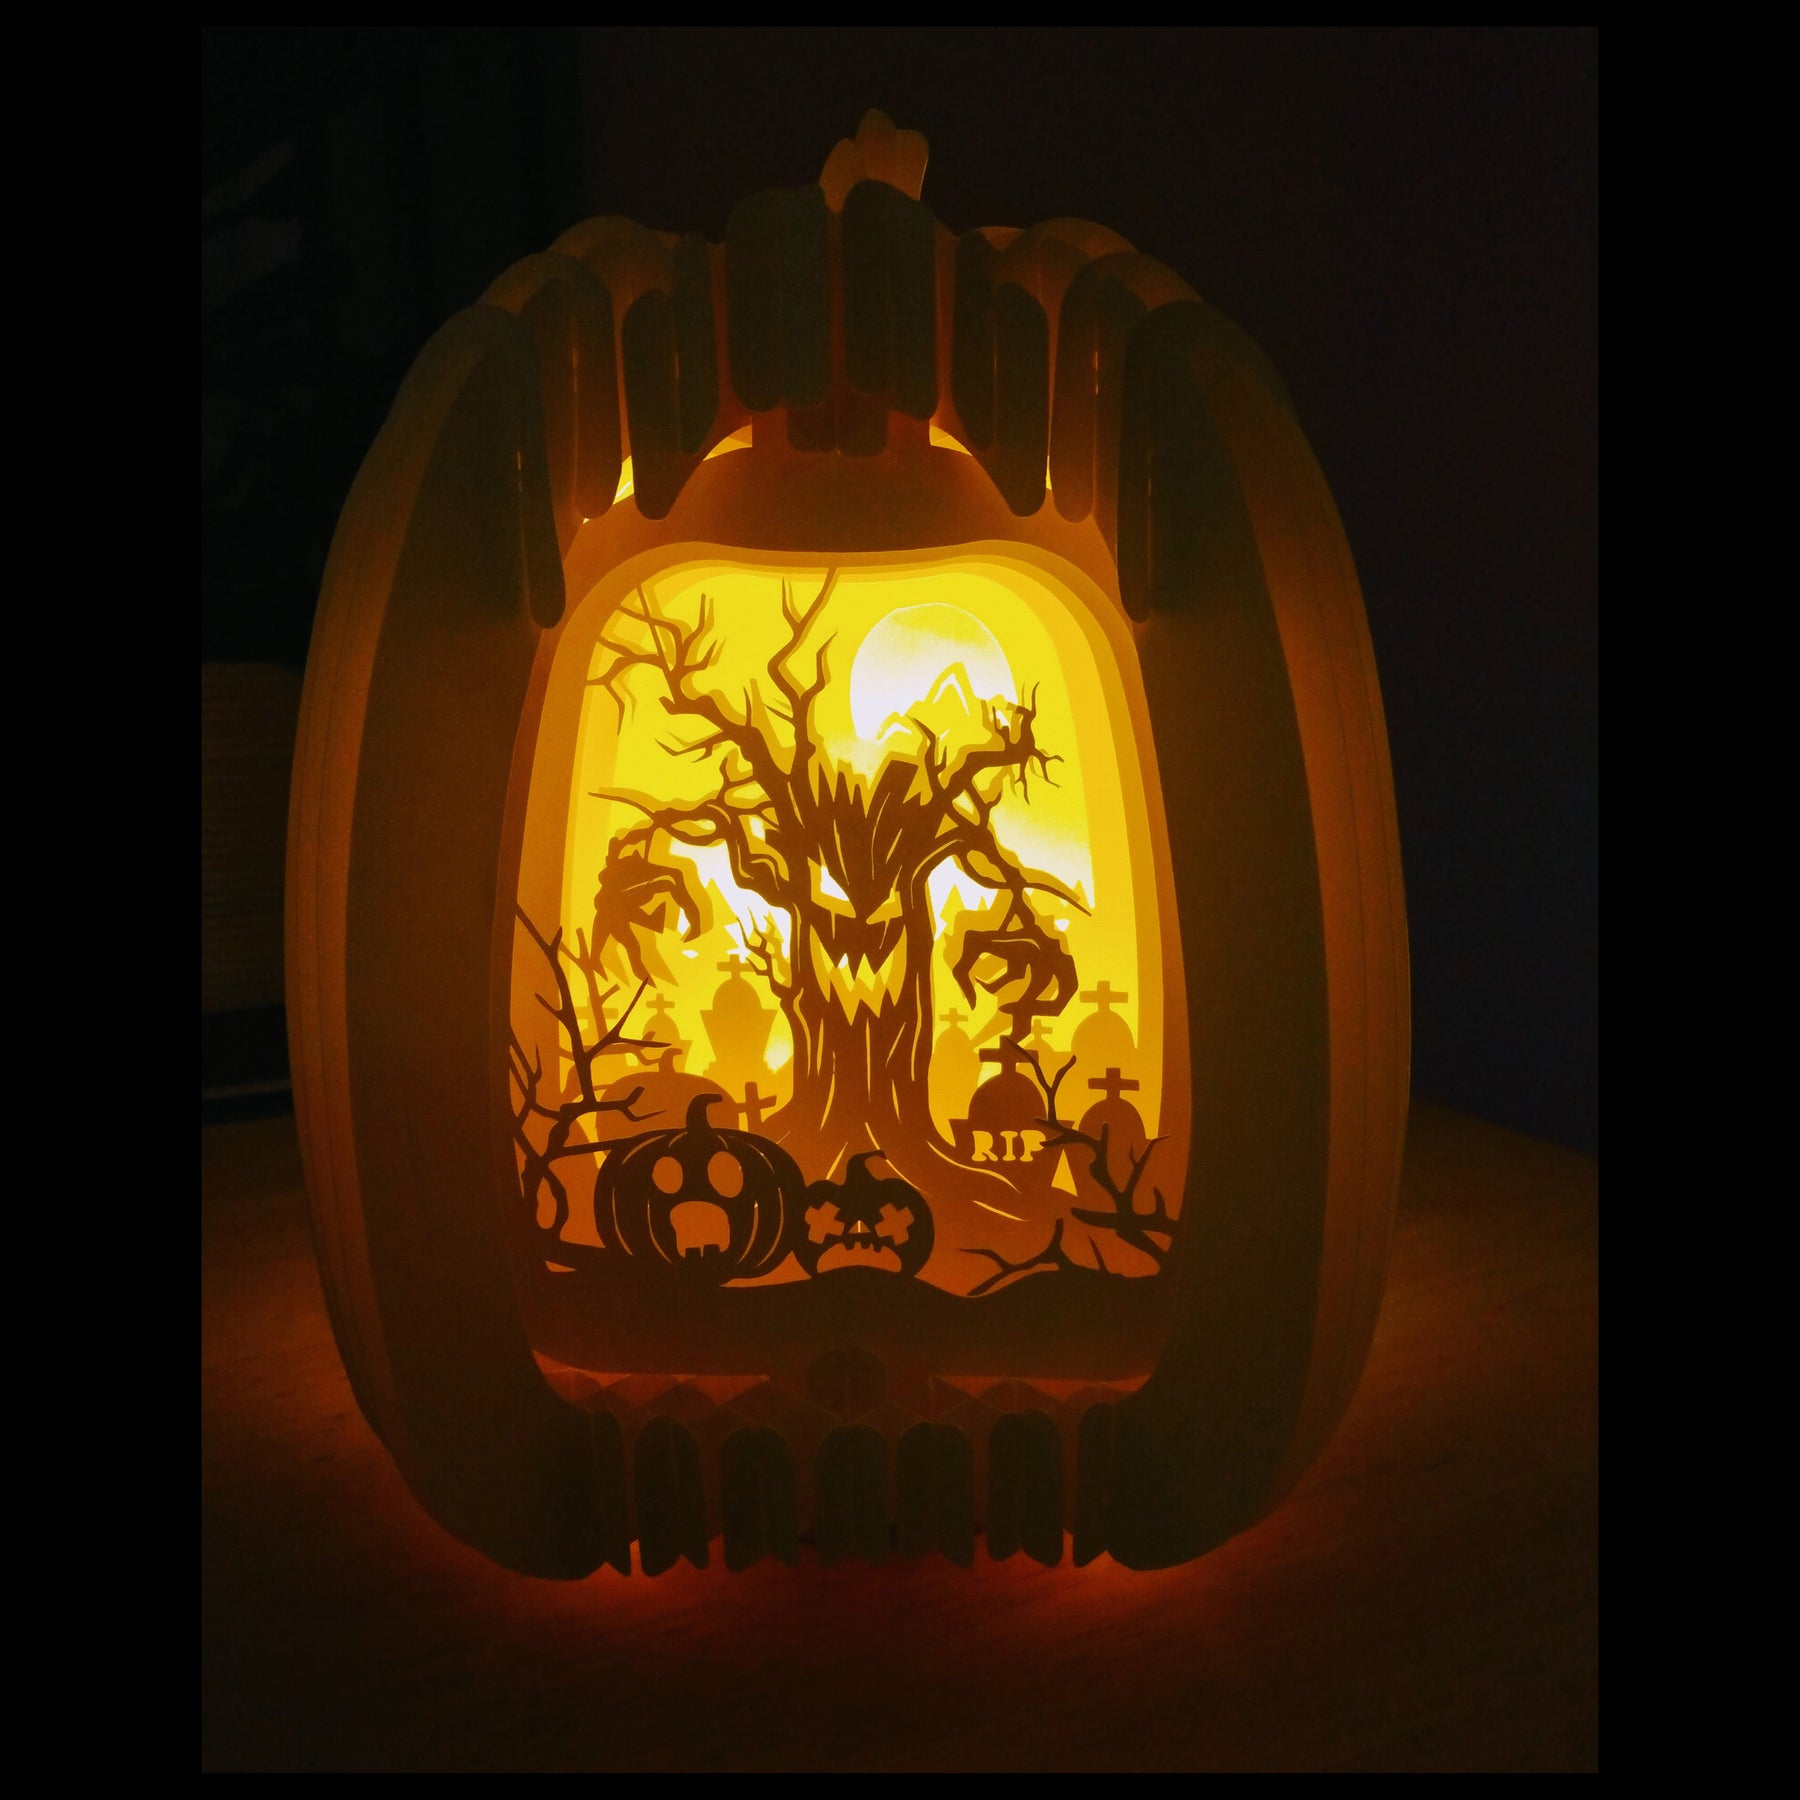
Purchase your design - anything from a spooky graveyard scene to this darling Merry Christmas Egg I bought from XuyenCraft on Etsy. I recommend shopping for a design from a seller who provides both written and video instructions for assembly.

When you purchase this kind of product, you can expect to receive a folder containing several individual files. These files will typically arrive in a zipped format, which means they’ve been compressed for easier sharing. Before you can upload the SVG designs to Cricut Design Space, you’ll need to "extract" them. Be sure to follow the instructions specific to your device. Look for guidance on how to "unzip," "extract," or "decompress" a zipped folder. For instance, if you're using a Windows device, you can simply right-click on the folder, select "Extract All," and choose the location where you want the files to be saved on your computer.

Once you’ve extracted the files to your device, take a moment to review them. Many of these designs are quite intricate, so you can typically expect to find anywhere from 12 to 24 individual SVG files, along with one or two PDFs that contain instructions for your reference.

Start by creating a new project in Cricut Design Space. Then, select "Upload Image" from the menu options.

Navigate to the folder on your computer where you saved the SVG files for your project, and select the first design to upload.

Follow the on-screen instructions in Design Space to save the image as a cut design and then add it to the Canvas.

Continue this process until all the cut designs for your project are uploaded to Cricut Design Space and added to the Canvas.

Follow the prompts in Cricut Design Space to create your project, cutting the designs from cardstock in your preferred color. I recommend using a slightly used Cricut LightGrip Cutting Mat, as it provides just the right amount of stickiness to hold the paper in place without tearing it. Pair that with a fresh Cricut Fine Point Blade for the cleanest cuts.
When choosing your paper, I recommend selecting cardstock that is smooth (non-textured) and crisp. These types of papers facilitate sharp creases without leaving tiny fibers at the folded edges, and they generate minimal residue on the cutting mat. In contrast, pulpy and fibrous papers tend to be softer and often result in small paper bits being left behind. Some of my locally available cardstock can be soft and not well suited for cutting with a Cricut. Ultimately, finding the best paper brands from your favorite shops involves some trial and error to see what works best with your machine.

After cutting, don’t peel the paper off the mat directly. Instead, turn the mat upside down on a clean surface and gently roll it away from the cut paper. This technique helps preserve delicate designs. Use a weeder tool to carefully separate the cut pieces you want to keep from those you plan to discard, especially with intricate designs. The finer the cut, the slower and more careful you should be during this process.

Start the assembly process by laying out all the cut pieces from your Cricut machine in preparation for your paper lantern. Since each lantern design is unique, I can’t provide specific assembly instructions, but you’re in luck - you’ve chosen a design that comes with both written and video guides! Most designs use a tab-to-slot or slot-to-slot connection system. If your design includes fold lines, use a bone folder to create crisp creases; this will help the lantern hold its shape and make assembly easier. Carefully examine the pieces to locate the slots, ensuring that each one interlocks properly with the others to create the 3D structure.

Once the structure is complete, place a LED lamp base beneath the lantern. Make sure it’s stable and won’t tip over.

And that’s a wrap! You’re all set to create your very own stunning 3D paper lanterns with your Cricut. I hope this guide has given you the confidence to jump in and start crafting. Just remember to take your time and enjoy the process. Experiment with different designs and materials - you might surprise yourself with what you can create! Once you see your finished lantern glowing, it’ll be totally worth it. Happy crafting, and have fun lighting up your space!
Learn how to navigate and use Cricut Design Space effectively for your projects.

Discover tips on selecting the best materials for your Cricut crafts to achieve stunning results.

Tips and techniques for achieving flawless intricate paper cuts with your Cricut machine.

Essential tips for keeping your Cricut blades sharp and in good condition for precise cuts.


Leave a comment